By Julianne Mason, Restoration Program Coordinator, Forest Preserve District of Will County

Here is a strong visual example of how the timing of prairie seeding matters. A former agricultural field in Will County, Illinois was seeded with rather diverse mixes of wet and mesic prairie seeds in early 2018. The contractor was busy doing mechanical clearing and other winter projects that need frozen ground conditions. They hoped to catch the end of the frozen ground window to do the seeding. Only part of the field was broadcast seeded under good conditions during mid February, 2018.
Photo 1

Photo 1 caption: Broadcasting native prairie seed under good winter conditions – frozen ground, light wind, and light snow cover to show the seeding coverage.
Photo 2

Photo 2 caption: View of native prairie seed and carrier (rice hulls) broadcast onto the snow surface.
Photo 3

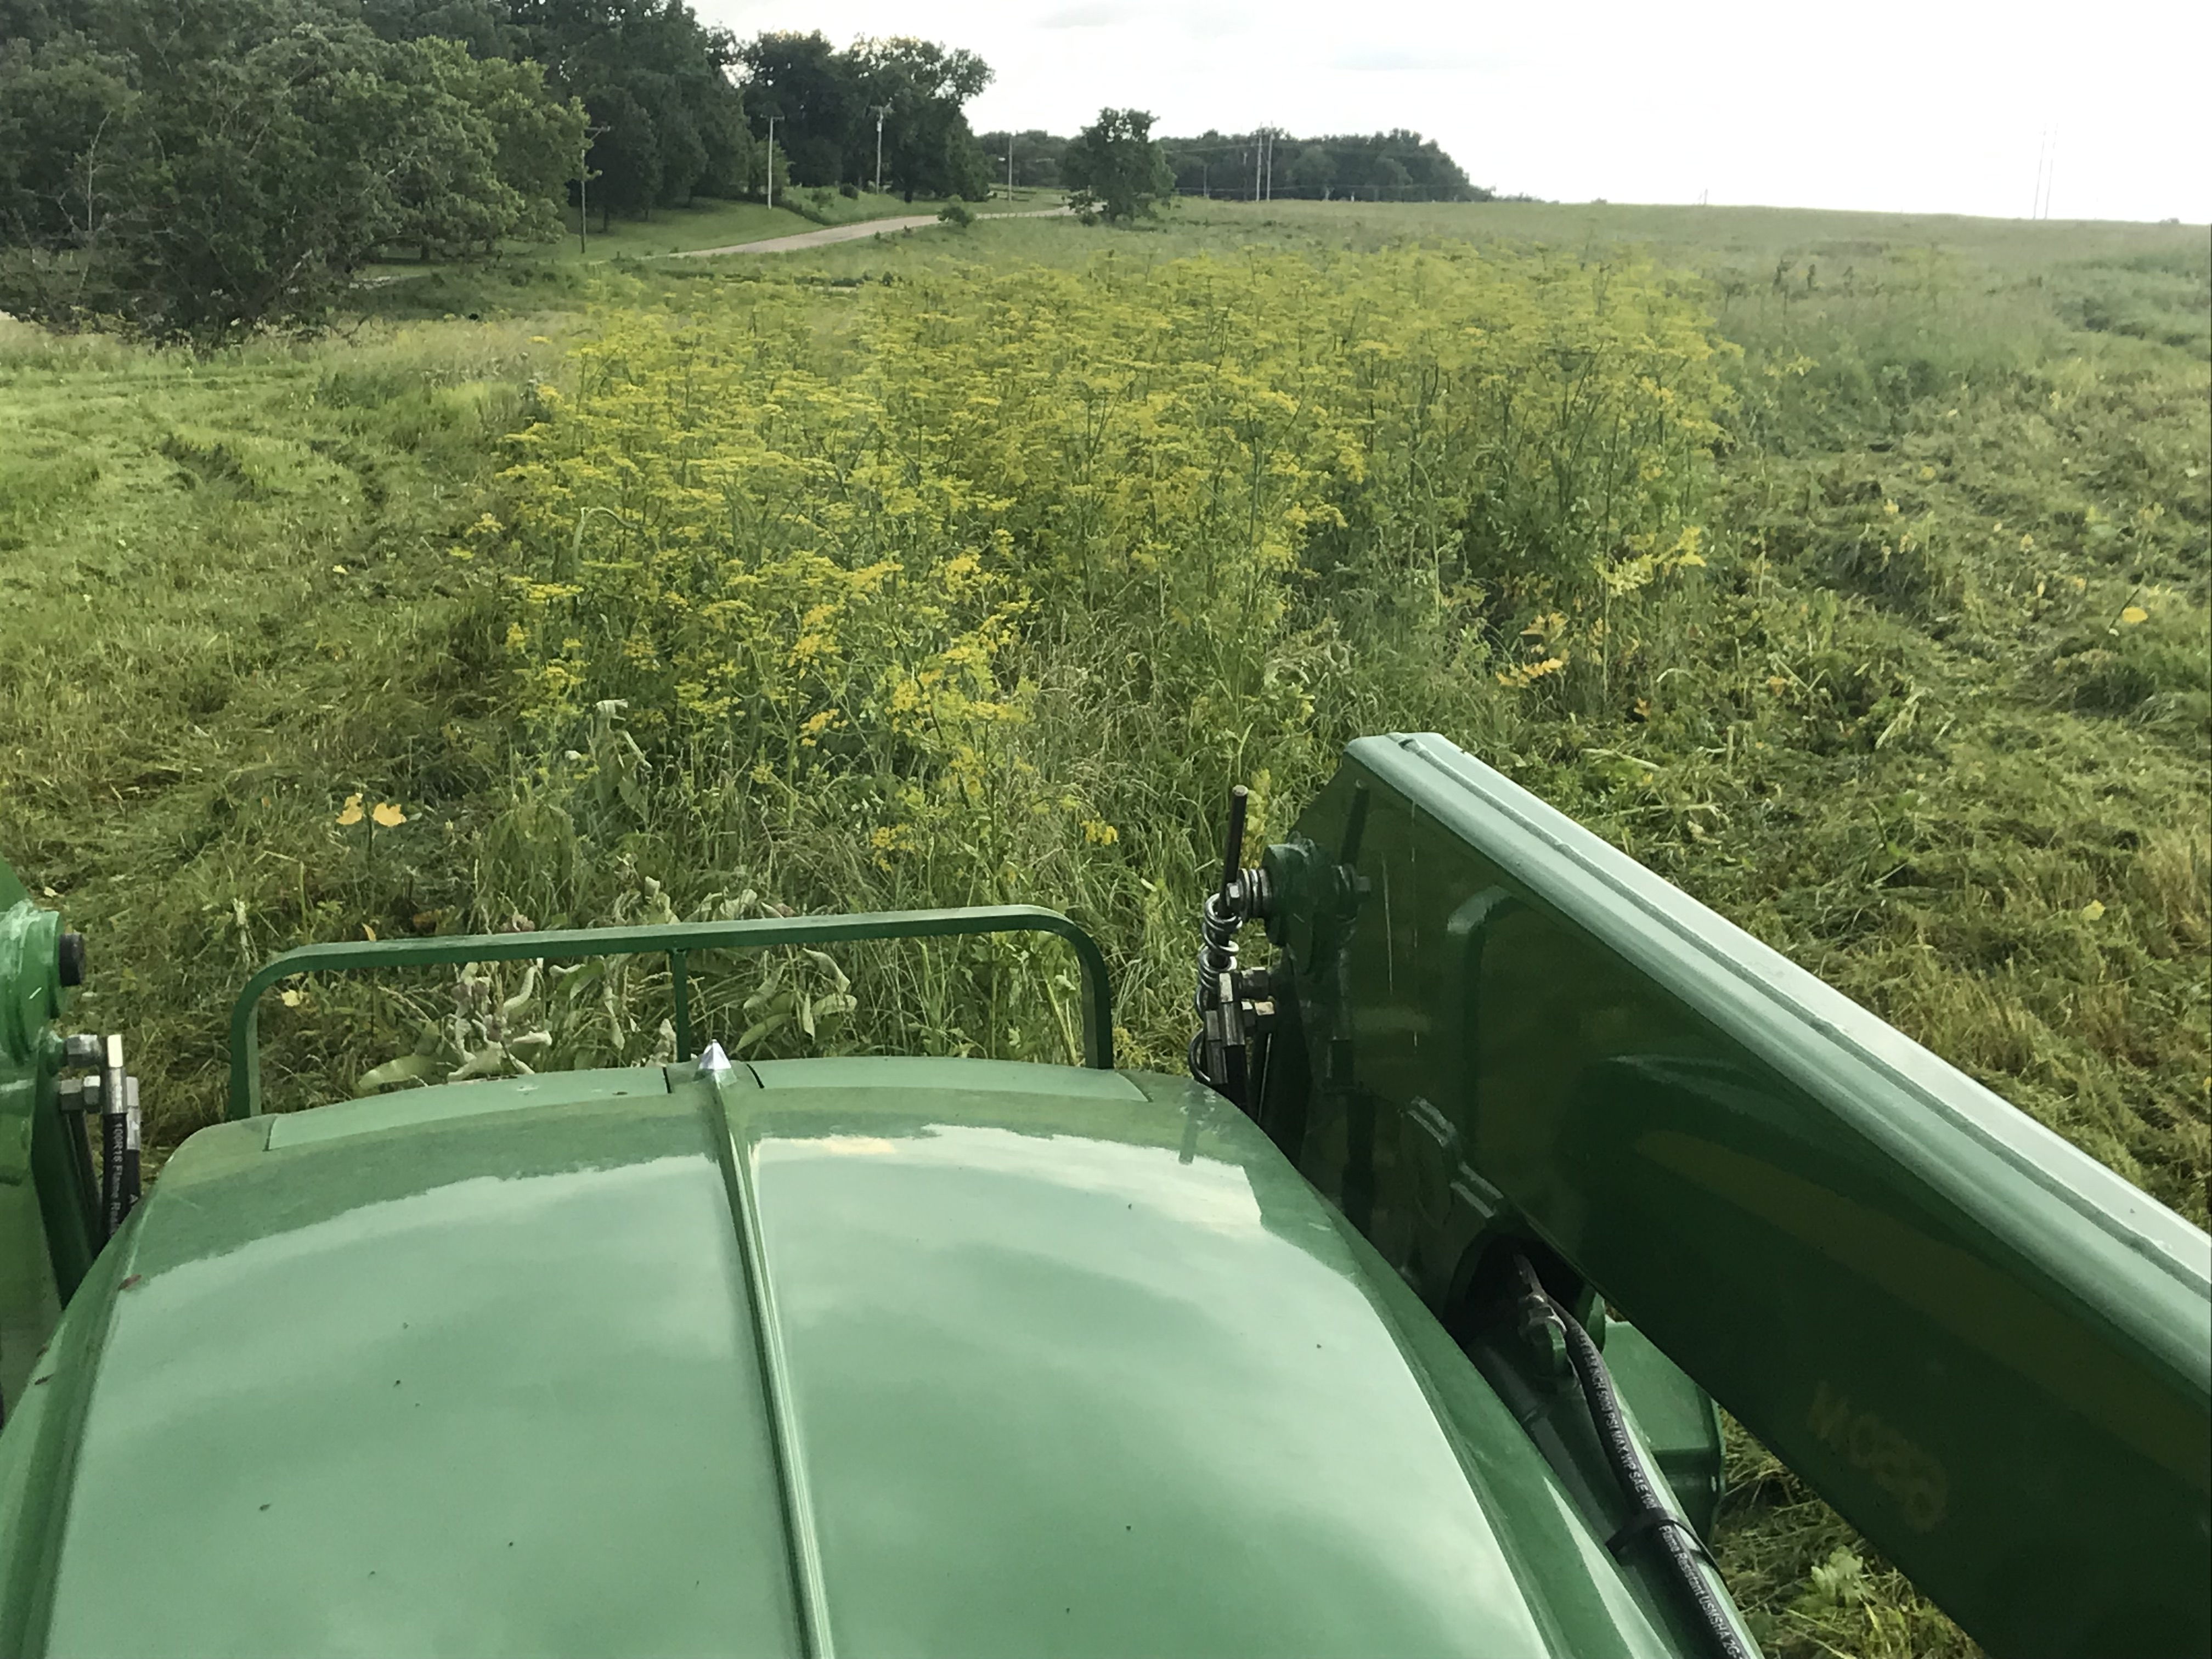
Photo 3 caption: By the next day, the ground had thawed, and the tractor got horribly buried in the mud.
By the time the tractor was able to be unstuck, it was half way through the spring burn season. The rest of the field was broadcast seeded in late March.
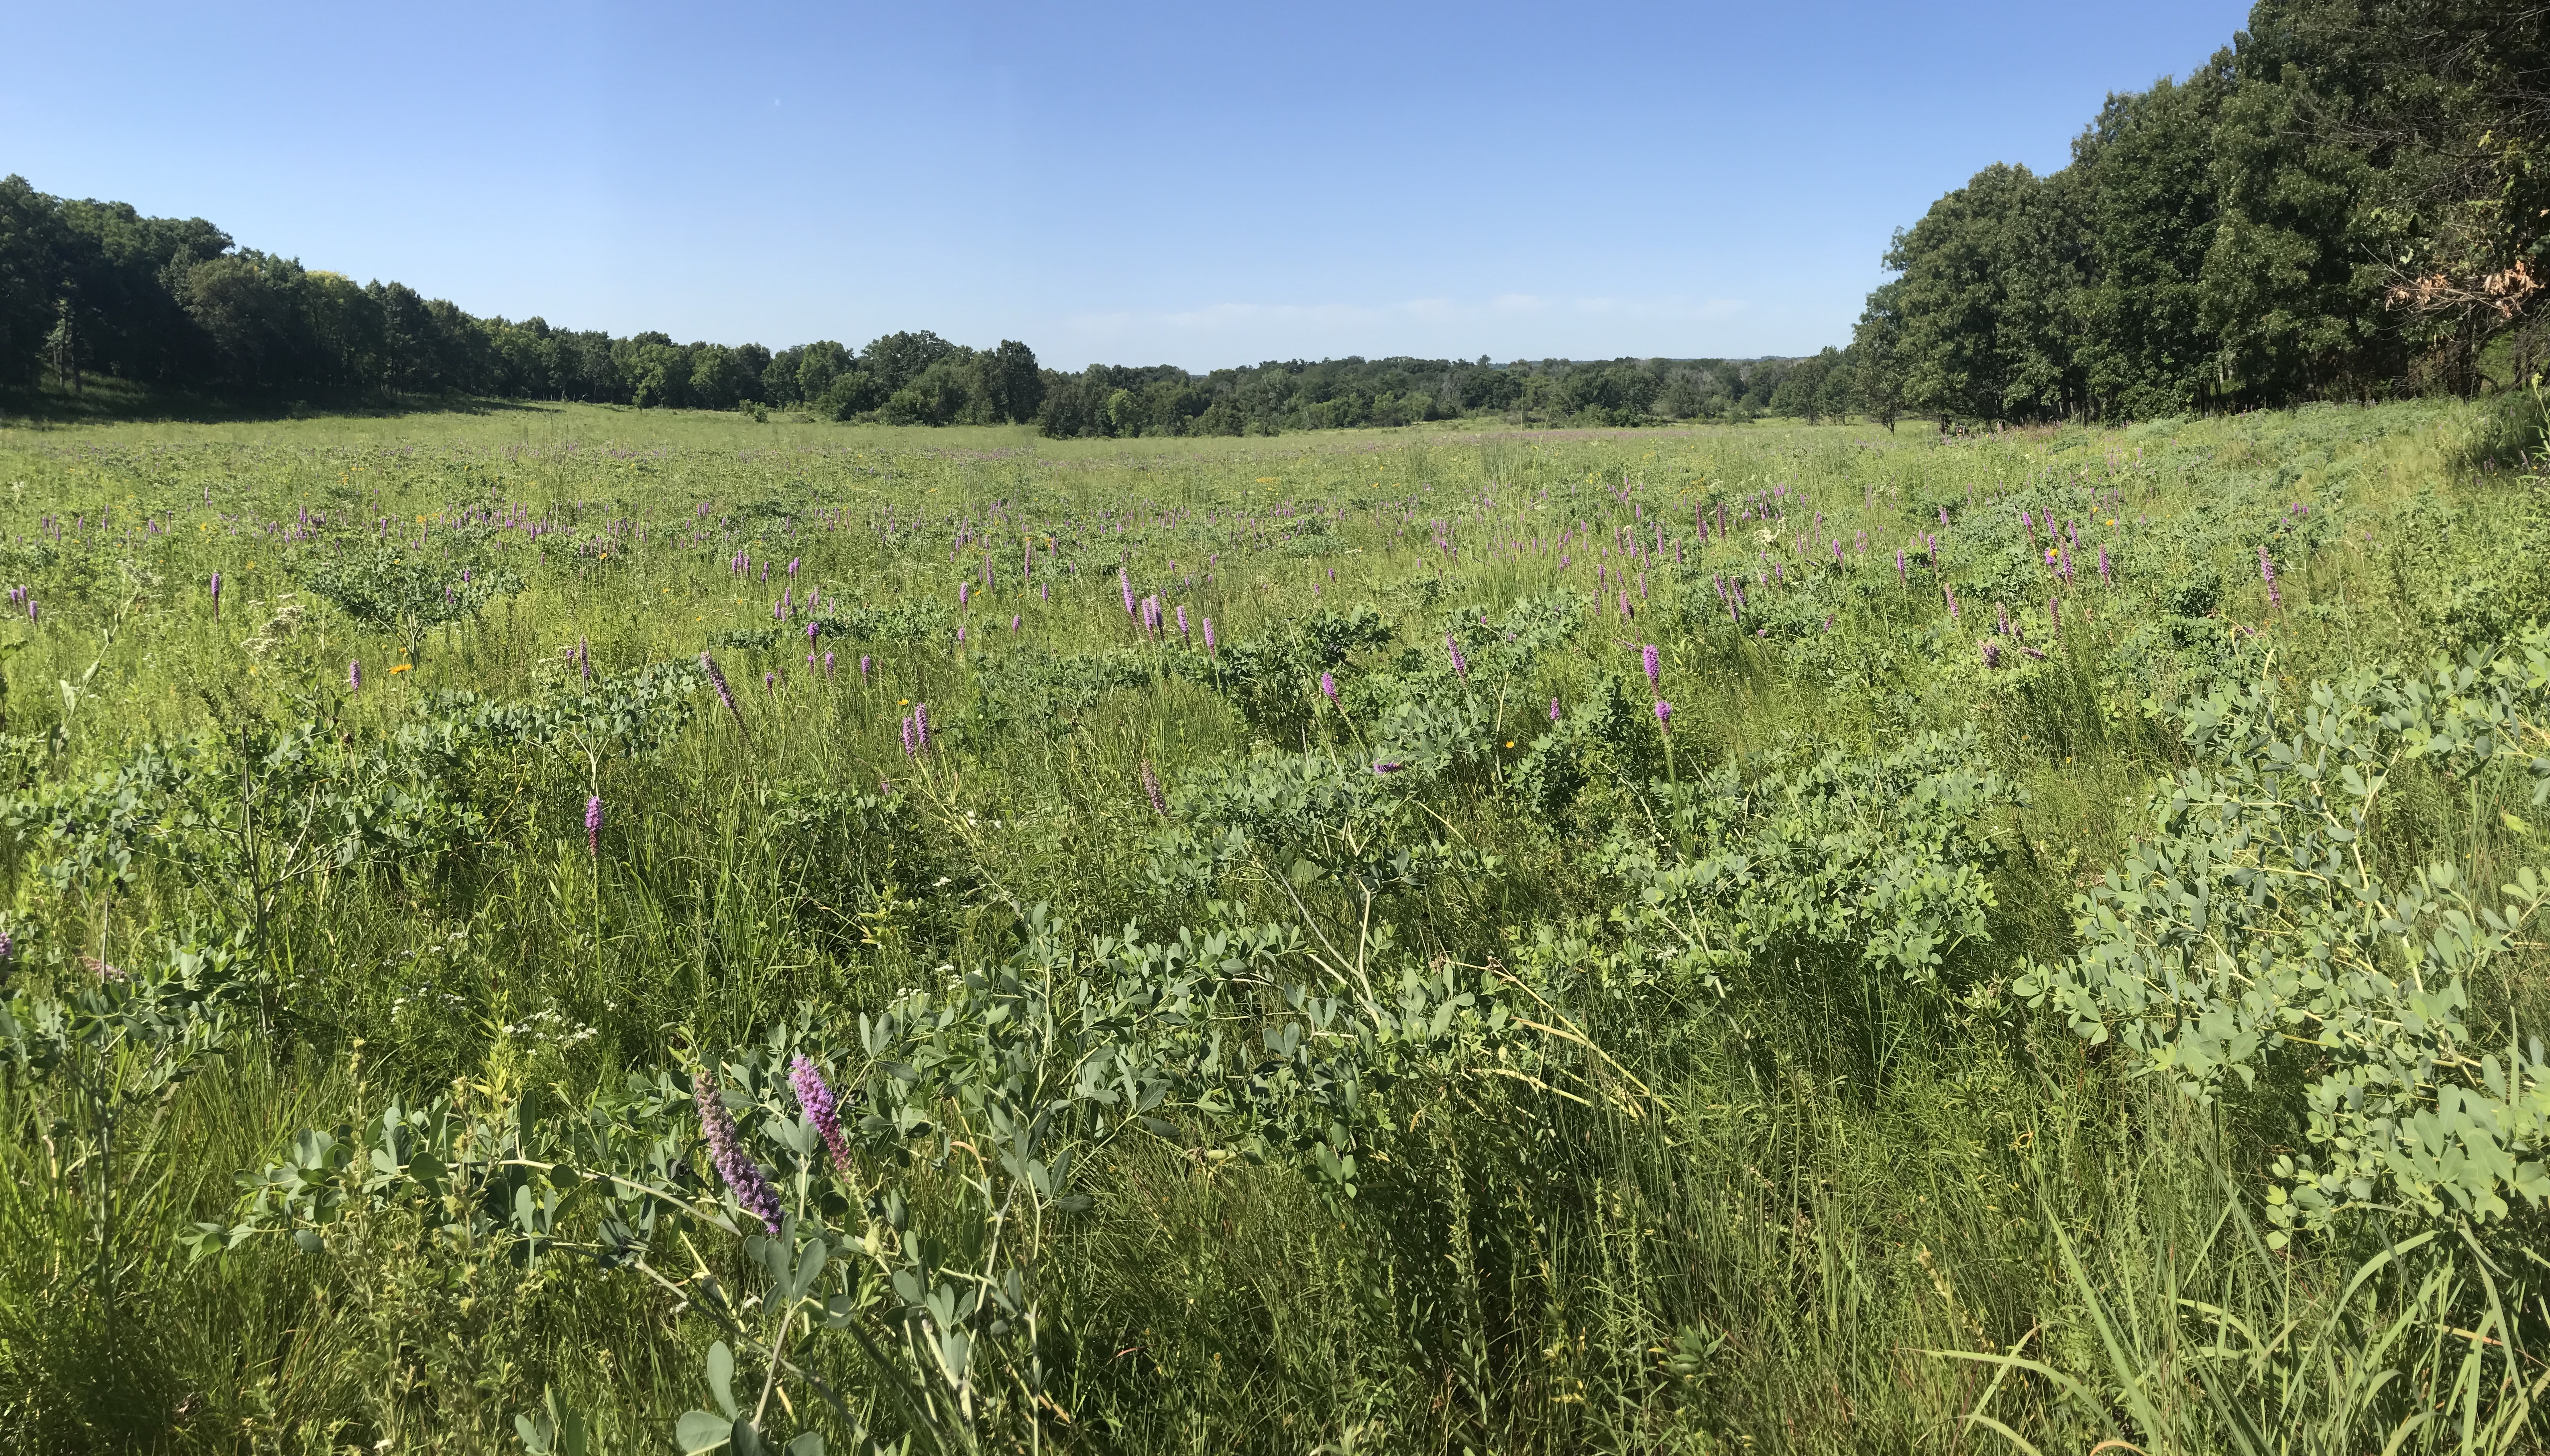
The same seed mix was broadcast seeded by the same operator using the same equipment in the same field. The only thing that was different was the timing of the seeding. During the second growing season (2019), the area that had been originally seeded during the winter looks great. There are already dozens of native plant species that cover the whole seeded area. Each square foot has many native wet prairie plants establishing.
Photo 4

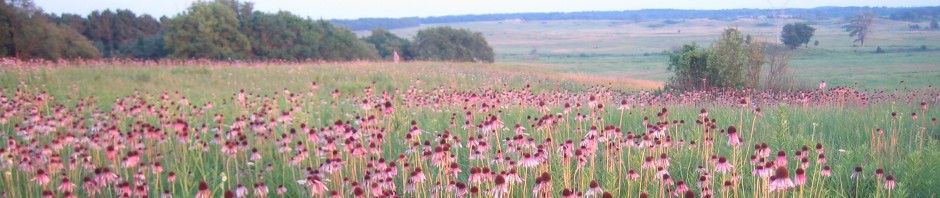
Photo 4 caption: By the second growing season (2019), the portion of the field that was originally seeded during the winter looks great, with a diversity of native plant species establishing. Blue vervain, tall coreopsis, common boneset, sneezeweed, water horehound, black-eyed Susan, and false boneset are visible in the photo.
In contrast to the portion of the field that was seeded during the winter, the area that was seeded during the spring burn season is underwhelming. There are a few native plant species scattered in the late-seeded area. However, most of the vegetation is foxtail, an annual grass that tends to fade quickly in restorations once the native plants get established. The continued dominance of foxtail during the second growing season indicates a lack of initial native plant establishment.
Photo 5

Photo 5 caption: During the second growing season (2019), the portion of the field that was originally seeded after the spring burn season was still dominated by foxtail, an annual grass, with only widely scattered native plants establishing. See the lone black-eyed Susan in bloom.
Native prairie seed is expensive, and it takes a lot of time and resources to collect, clean, and broadcast. To give that investment the best chance of success, native seed needs to be broadcast in the late fall or winter, and most certainly before the end of the spring burn season. This is especially true for forbs, sedges, and other species that need a period of cold moist stratification before they are able to germinate. By giving them the early spring window to cold moist stratify, those species are able to germinate and grow during the first growing season. This greatly improves the opportunity for a diverse prairie restoration.
Take-home message: Schedule the initial seeding of a prairie restoration during the first window of suitable ground conditions during the late fall or winter. Other work can wait. Don’t wait until spring to seed a diverse prairie mix, unless you want to give warm season grasses an advantage at the expense of diversity.