By Bill Kleiman
To get control of a dense invasive olive on 28-acres we brush mowed, seeded heavily, started a frequent fire program, and continue to make visits to apply basal bark herbicide to individual shrubs. We have been mostly successful.

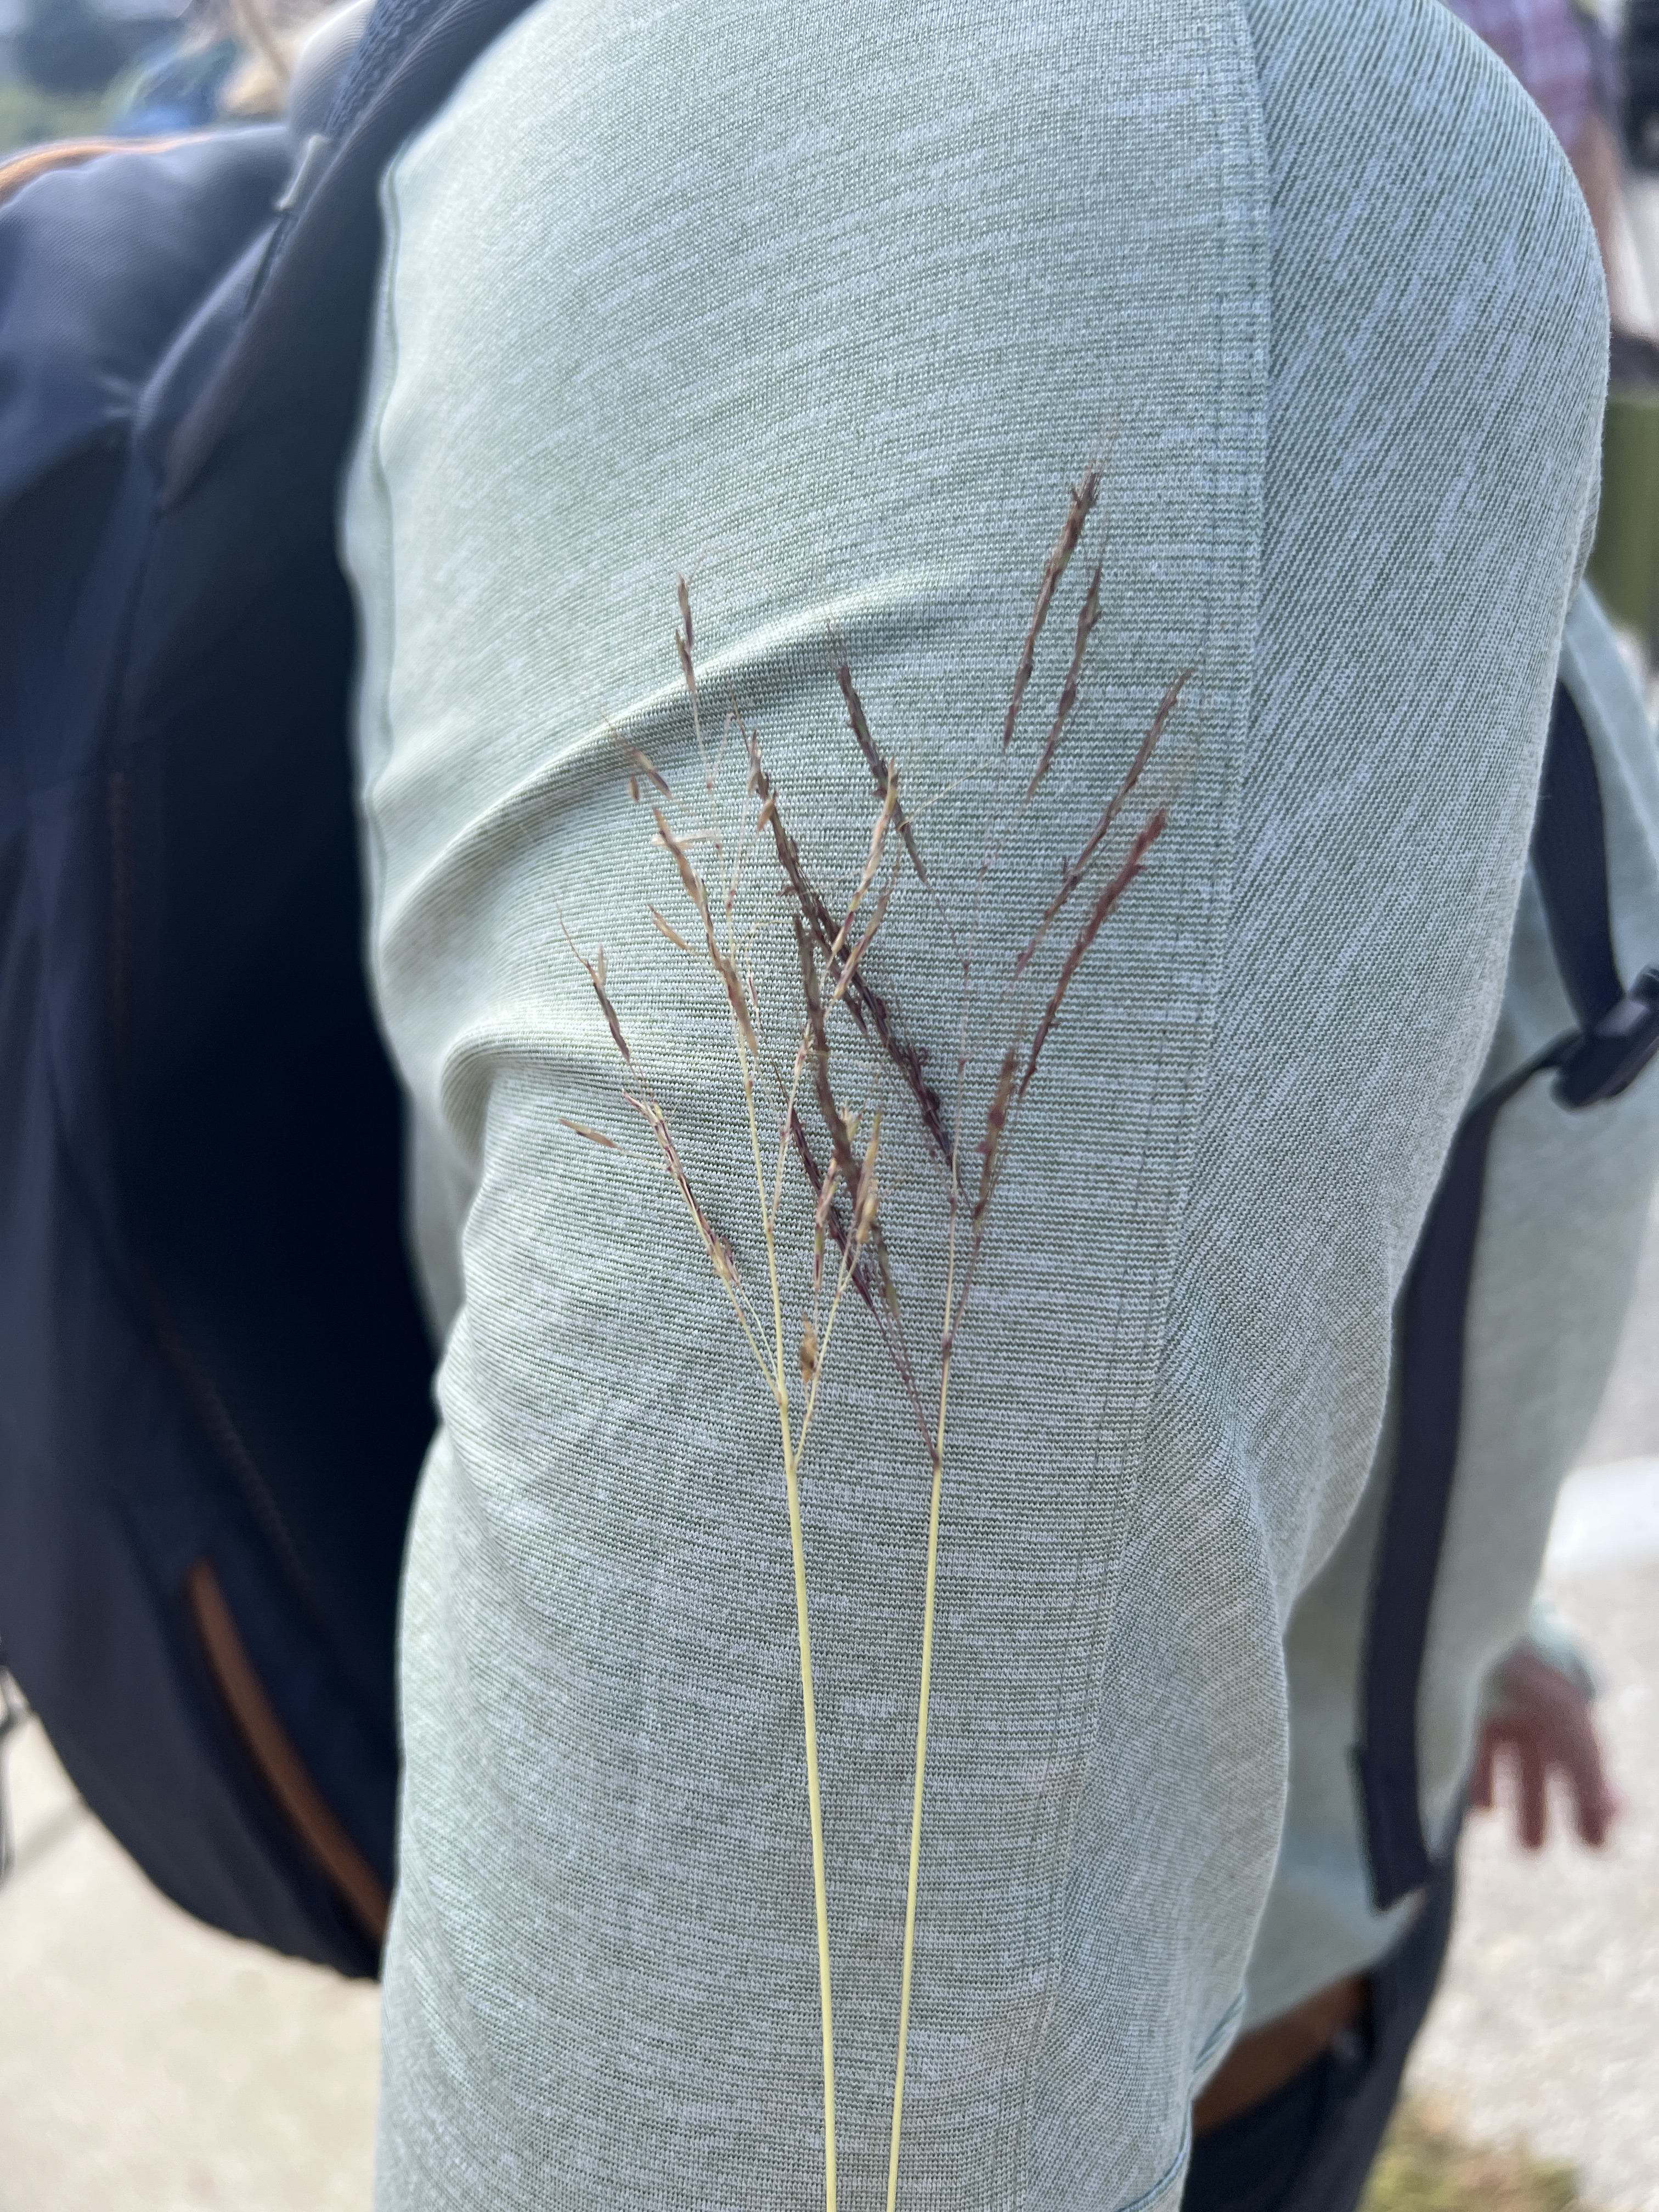
Invasive autumn olive is easy to spot from the stems which appear to be covered with rust or cinnamon powder. The stems also have false thorns which you will feel if you take your gloves off. The leaves are wavy with a silvery bottom.


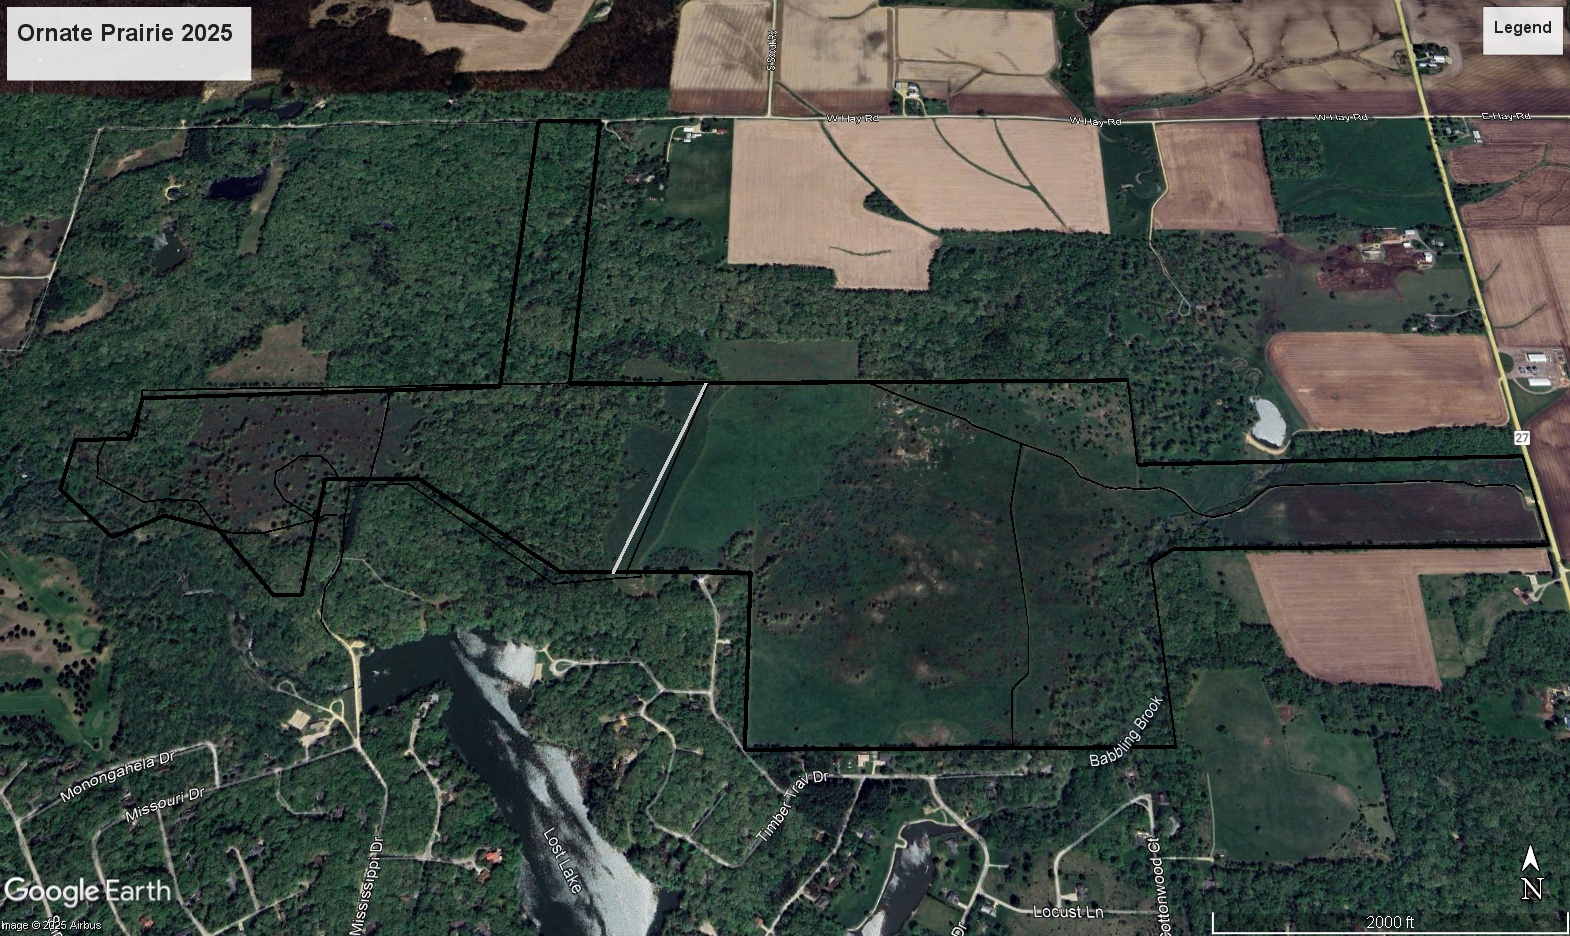
I could tell various stories from these three aerial views but today I will stick to autumn olive.
If you look on the left side of the unit where in 1939 there is open prairie and a dry gulch running east to west.
The invasive shrub Autumn olive, Elaeagnus umbellata, was likely planted in the 1980s. It was a thing back then to plant olive to make “great habitat”. Some places may still be selling this invasive. Please don’t.
In the 2010 aerial, olive is very abundant, which is the year TNC purchased this tract at Nachusa Grasslands.
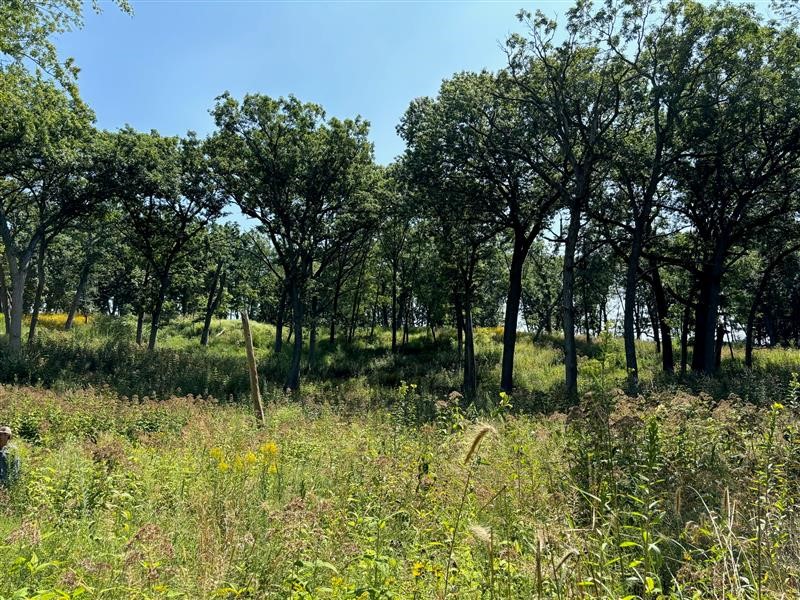
The third aerial shows shrub cover much reduced from brush mowing, herbicide, and frequent fire. Most of the woodies you would see today there are black oak, wafer ash, and some olive we are still chasing.

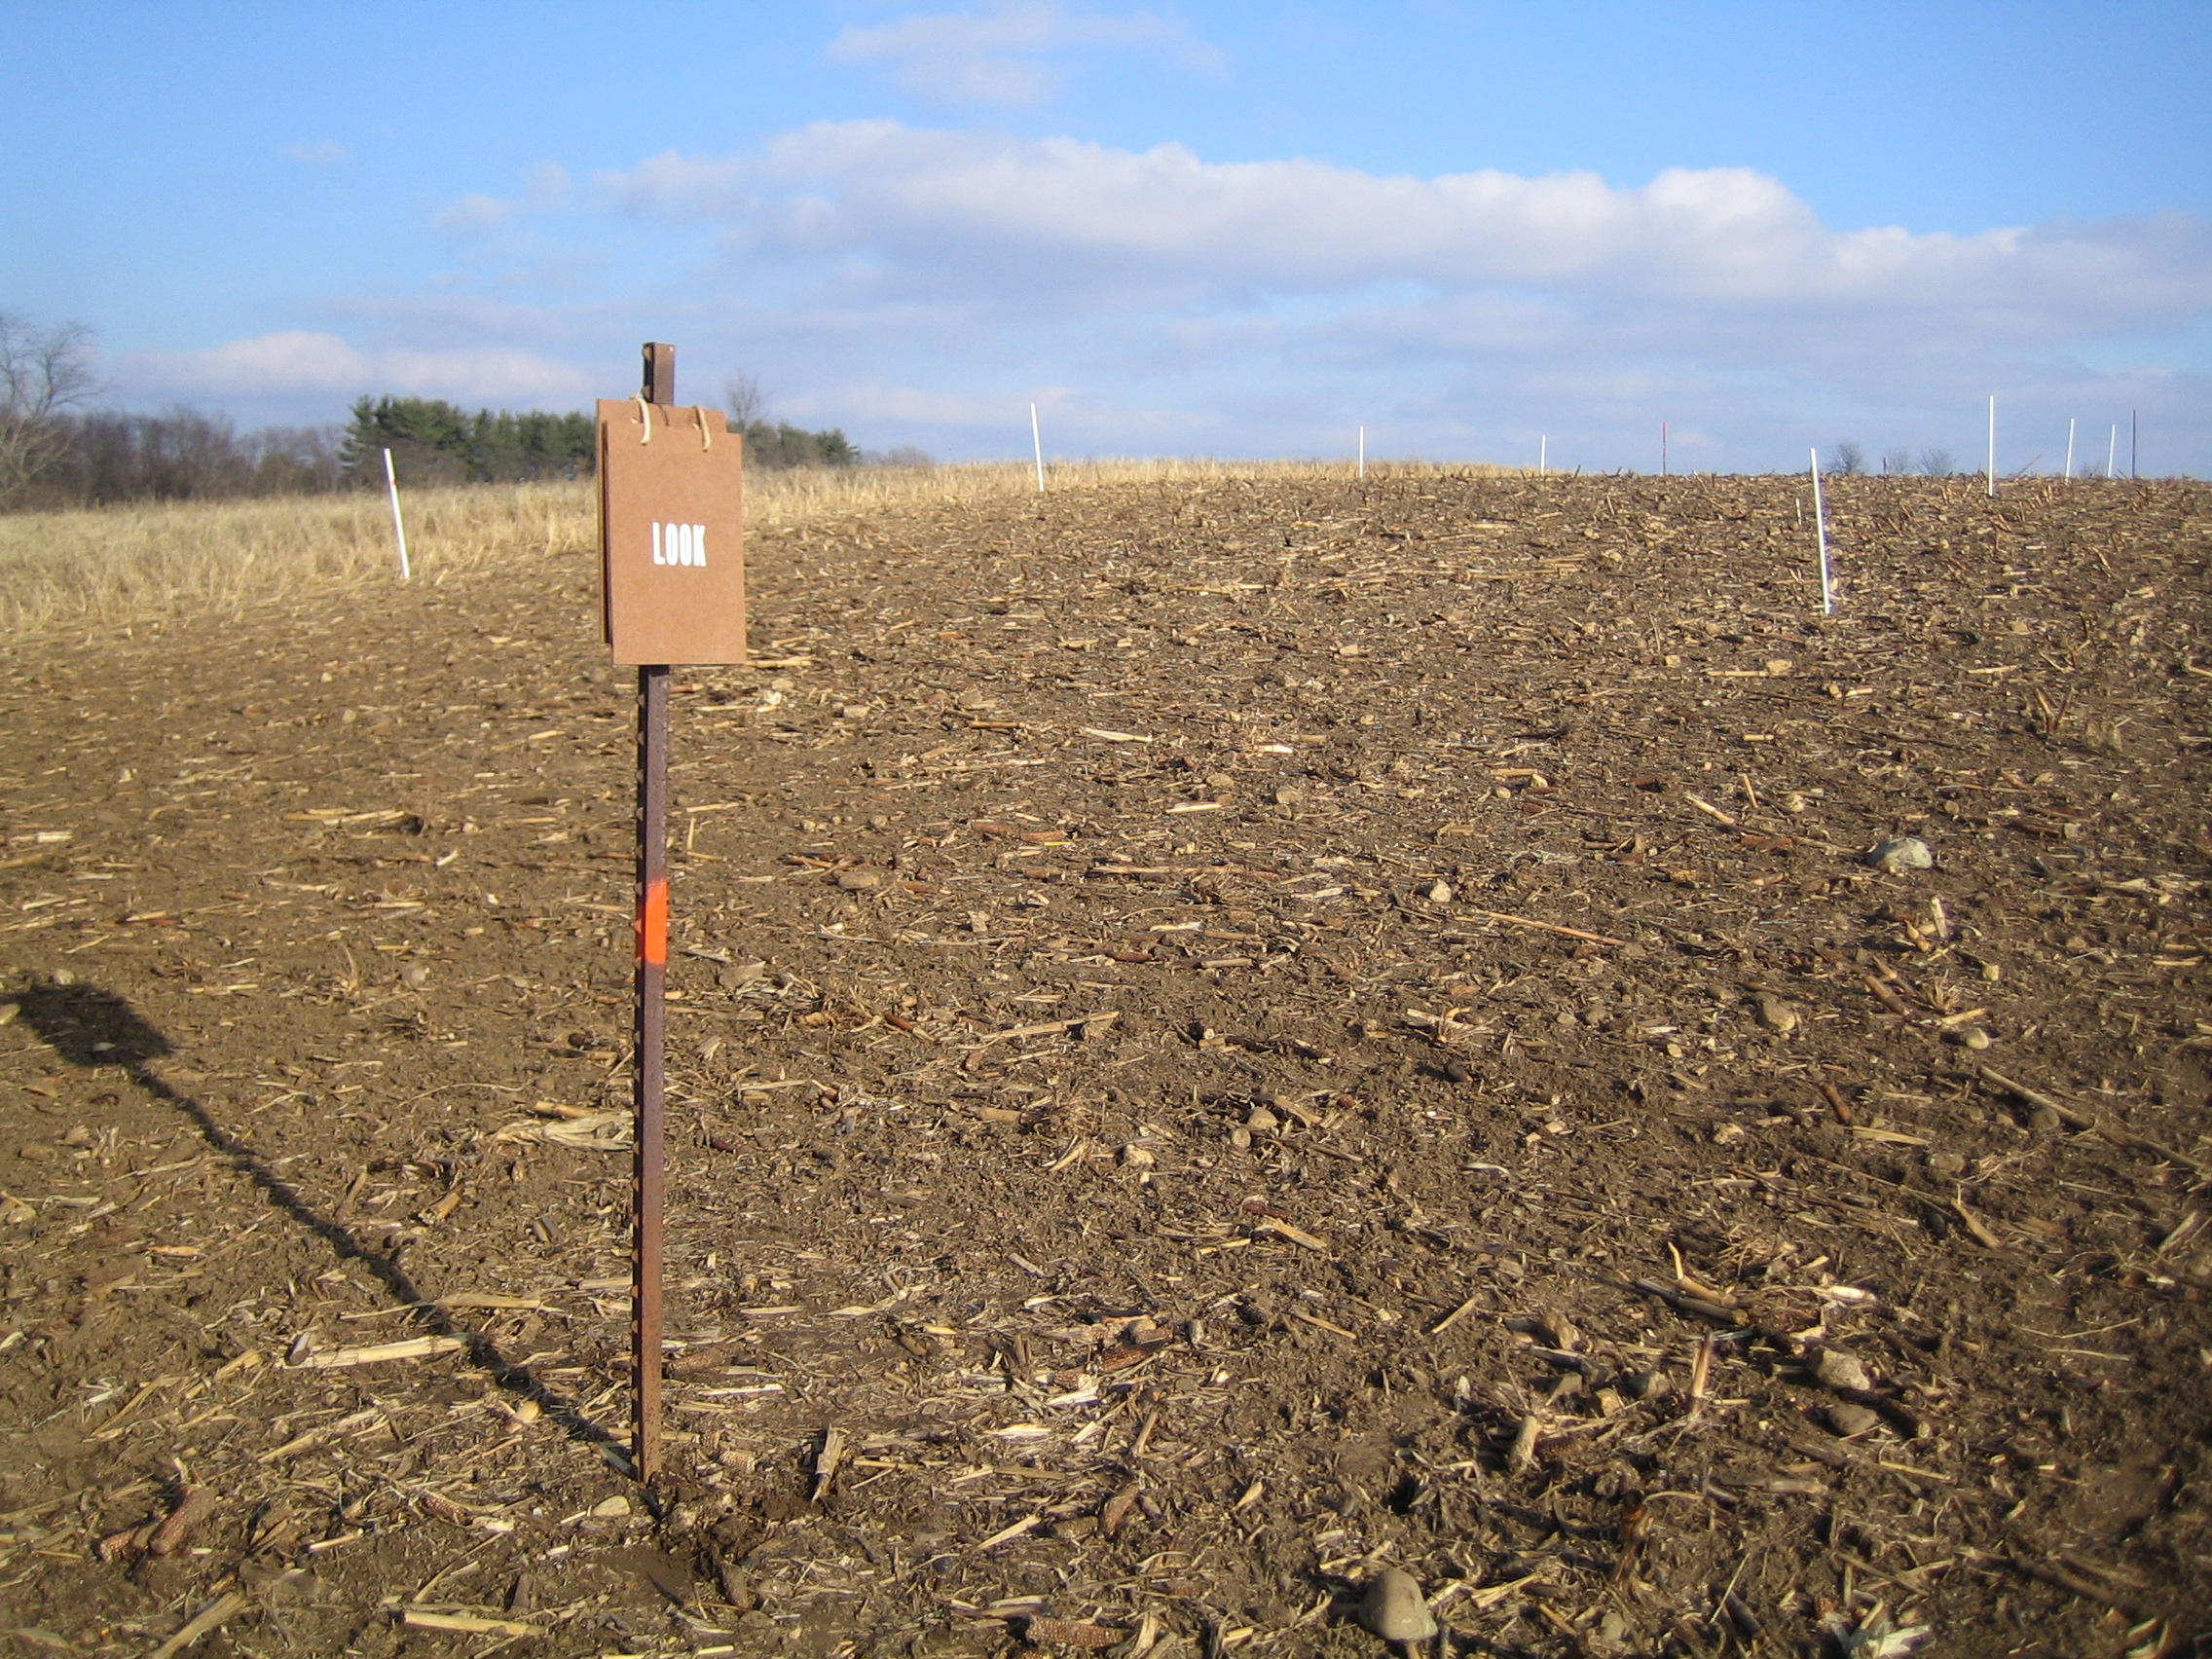
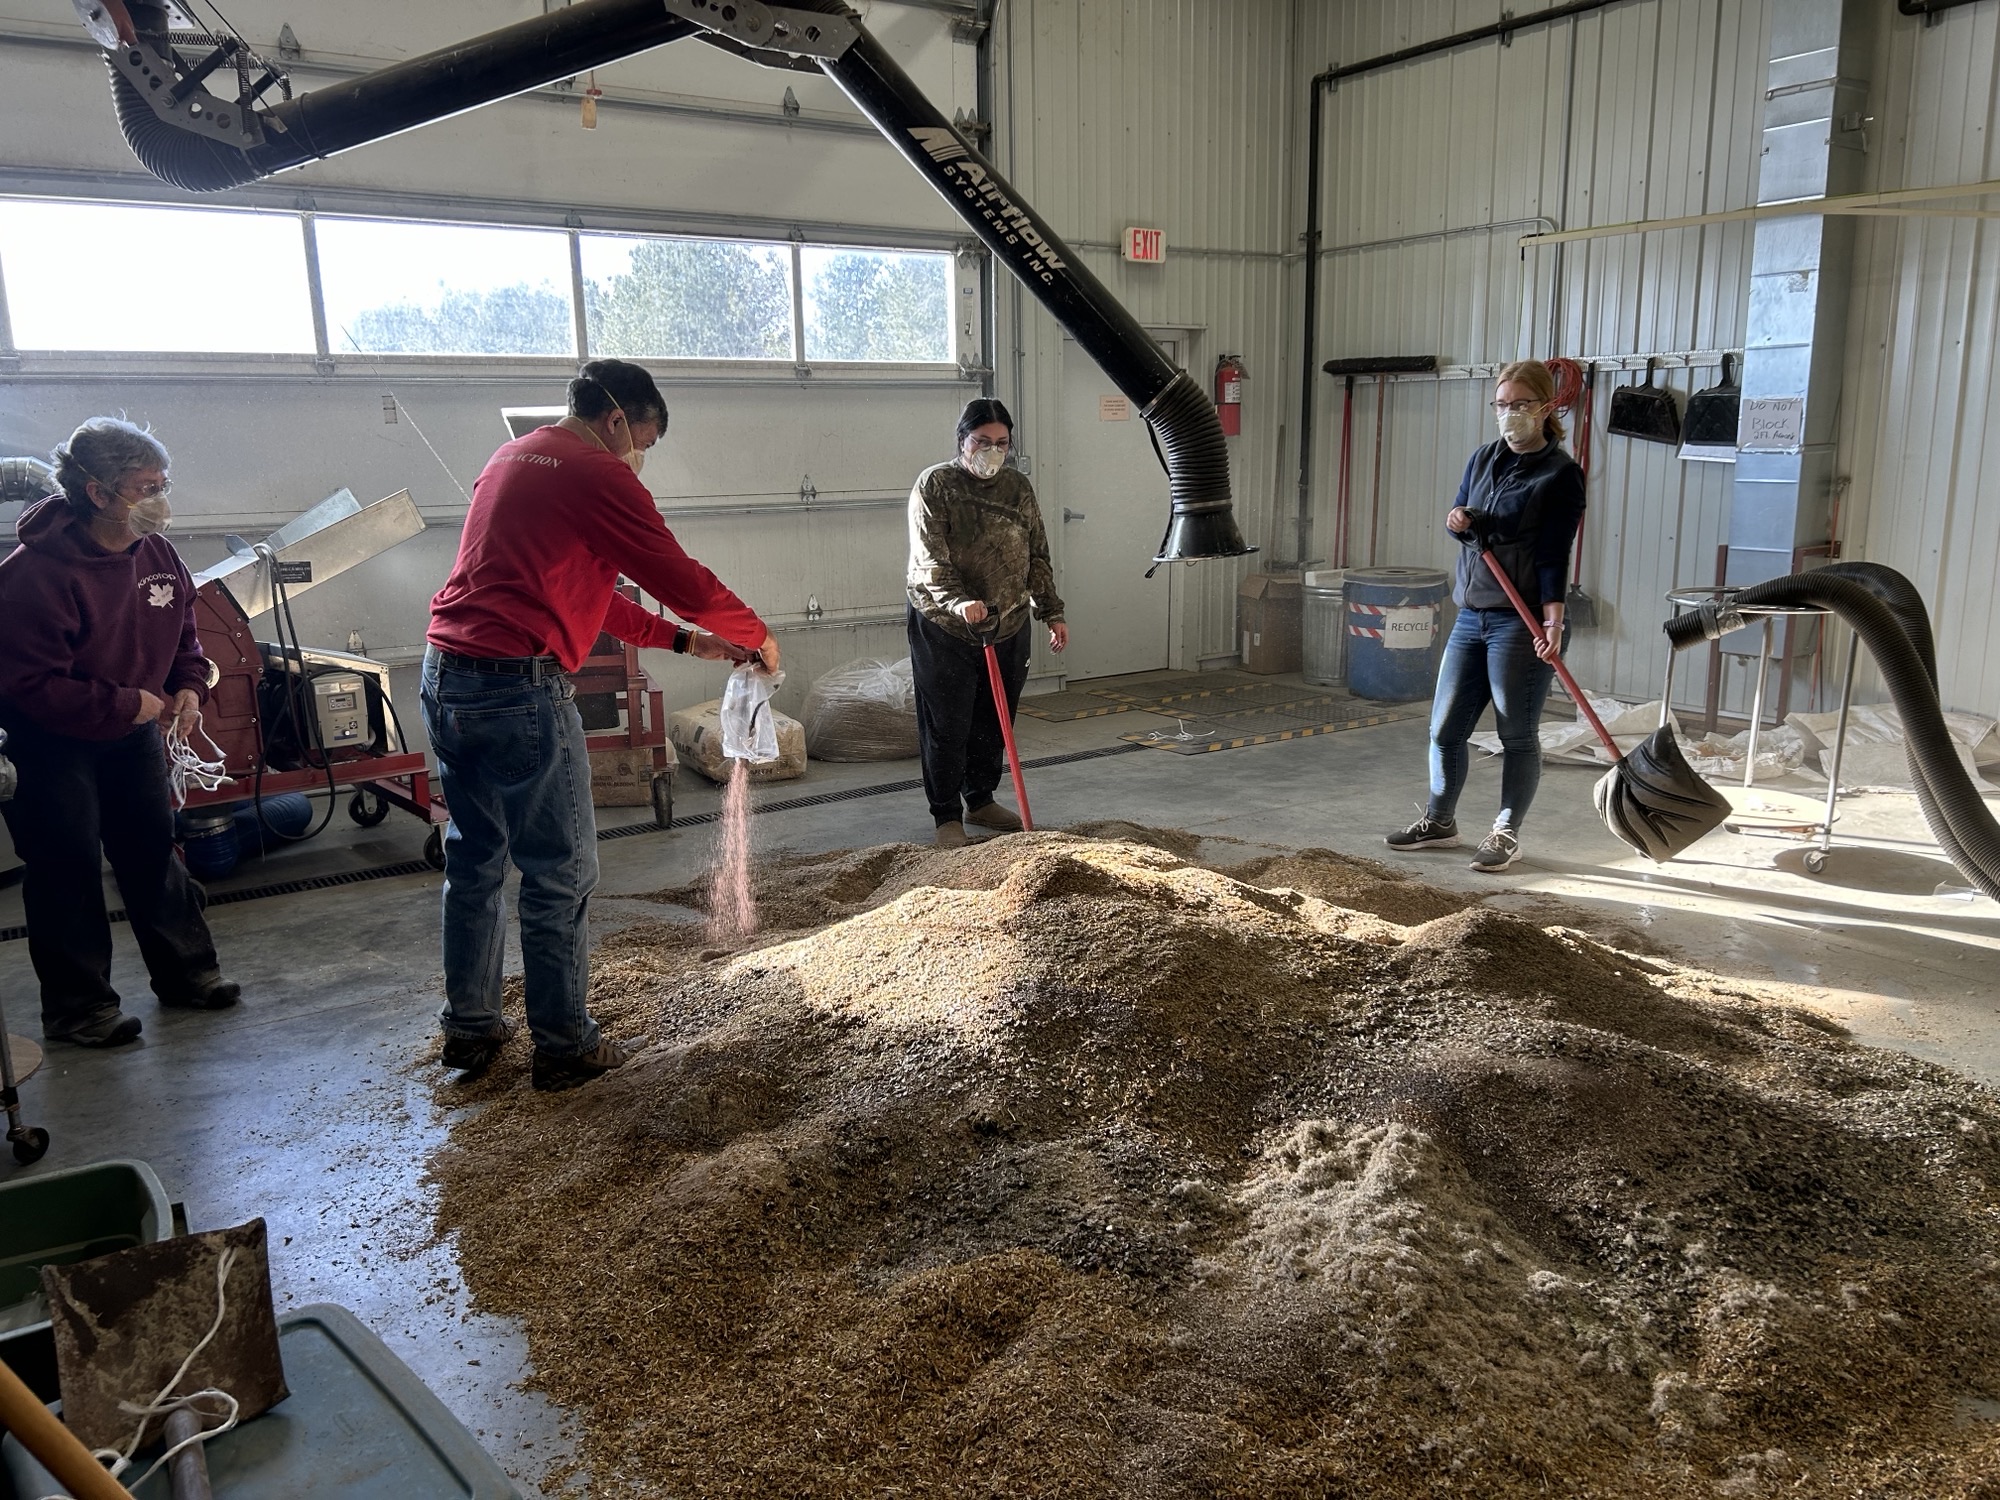
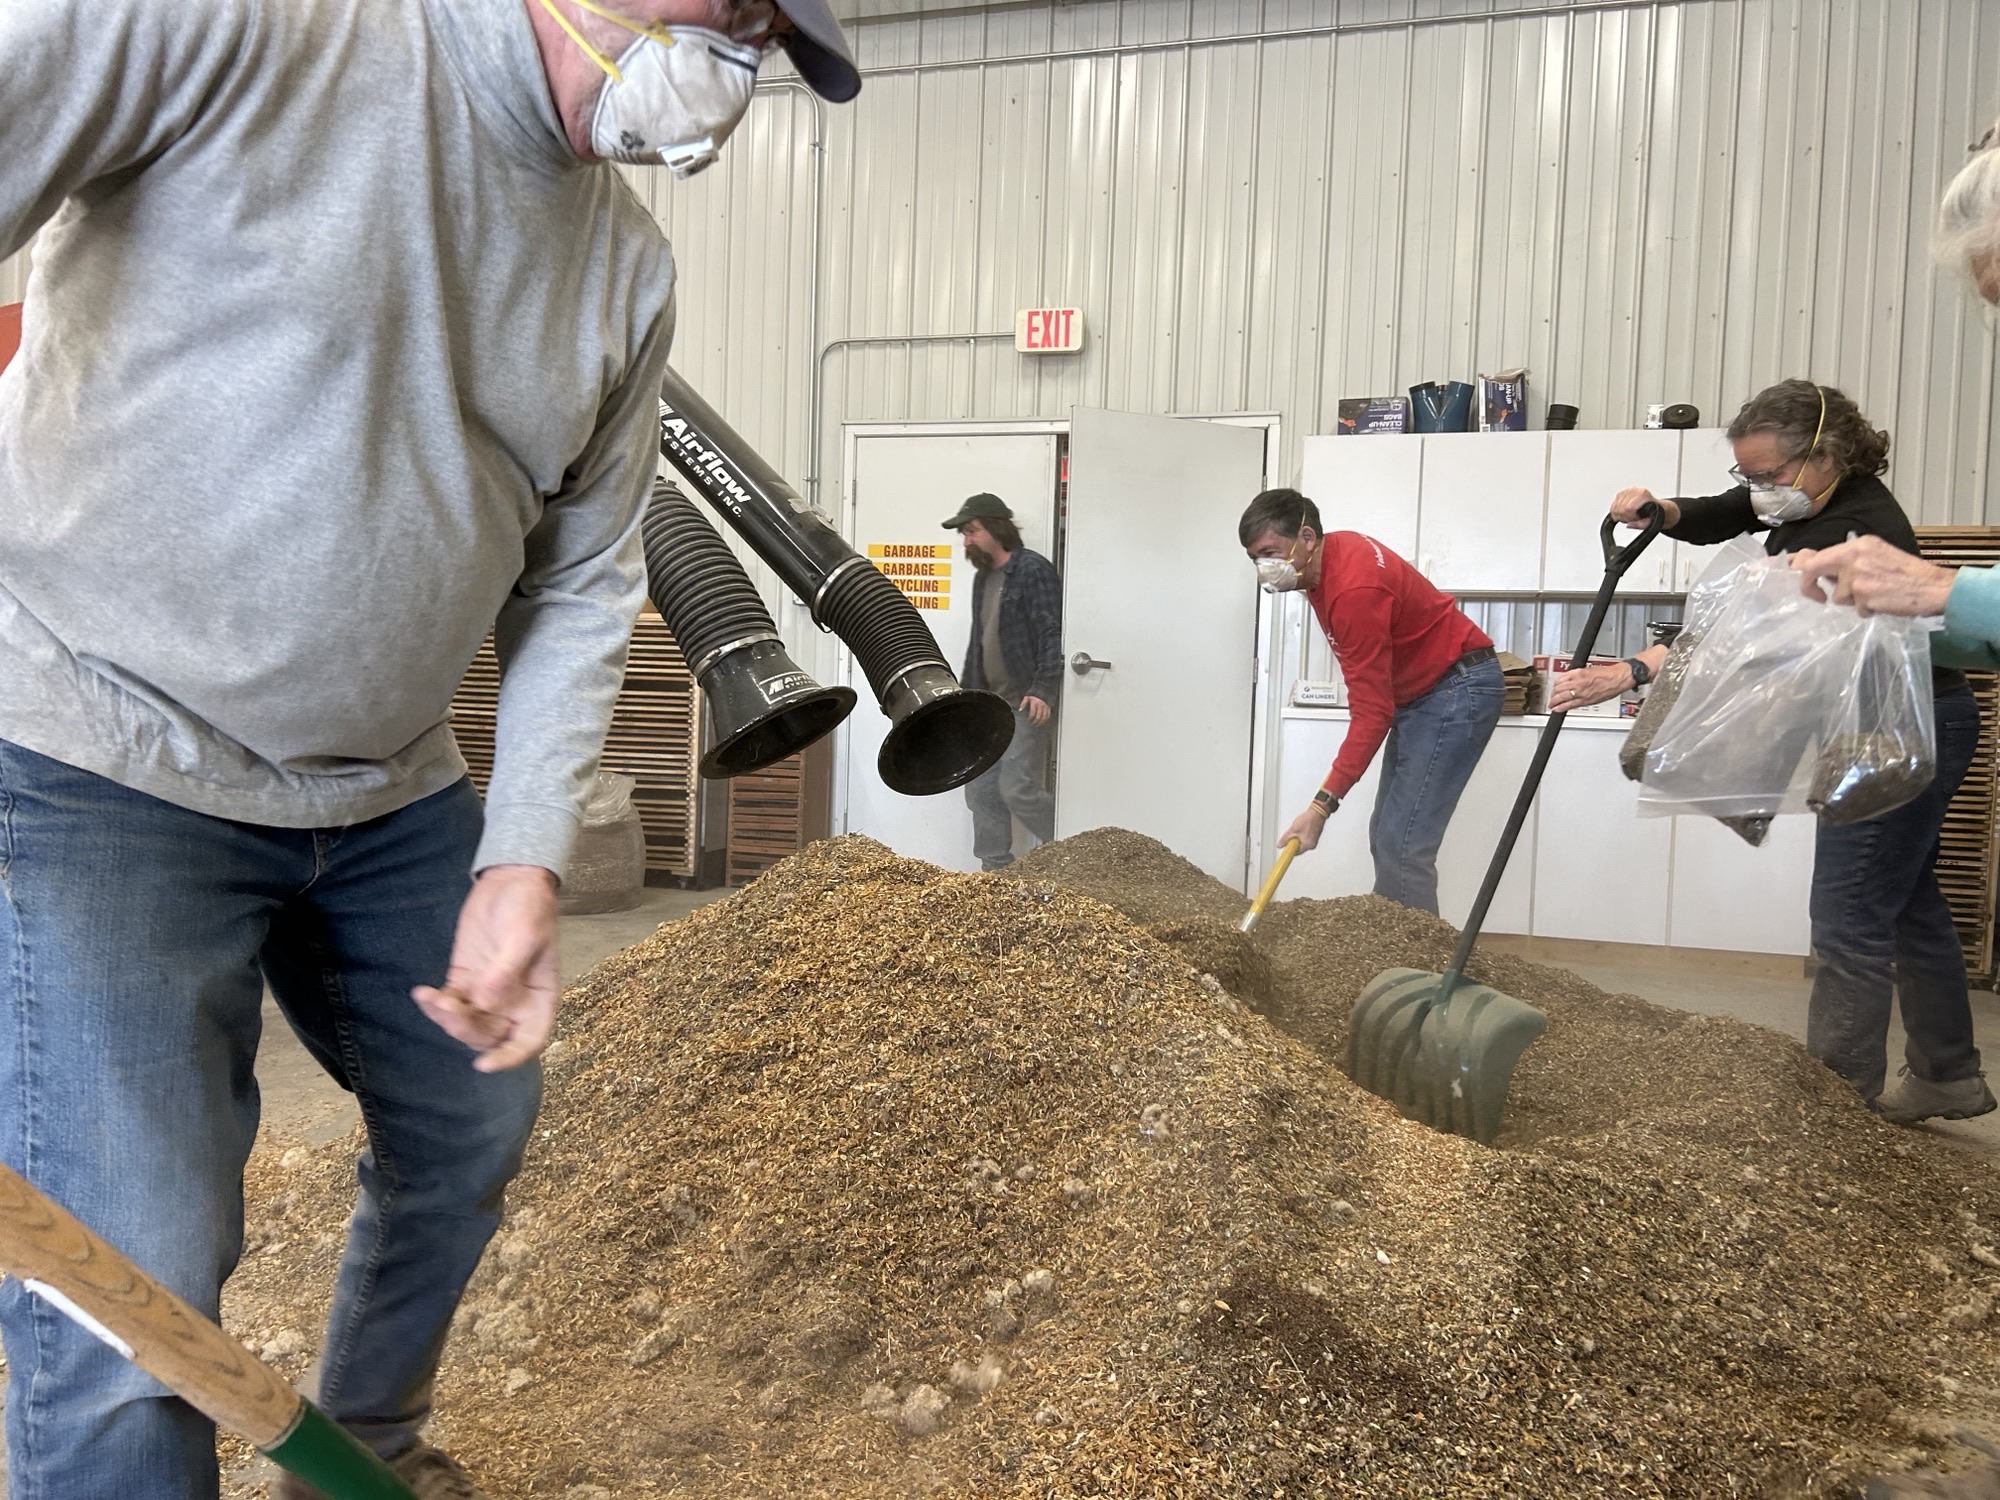
There were about 28-acres of very thick autumn olive. Above is an image from that tract showing where a brush mulcher had just passed through. The ground layer was so shaded that exposed soil would dominate a monitoring quadrat. But there were also still open patches of prairie here and there, so foliar spaying the olive was not chosen.
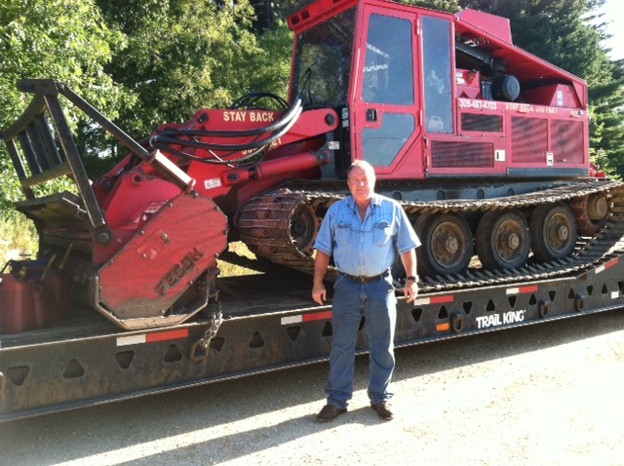
We hired this contractor to mulch the 28-acres in about a week. Back in 2010 it might have cost $15,000.
We used a skid loader with mulcher to also clear areas.

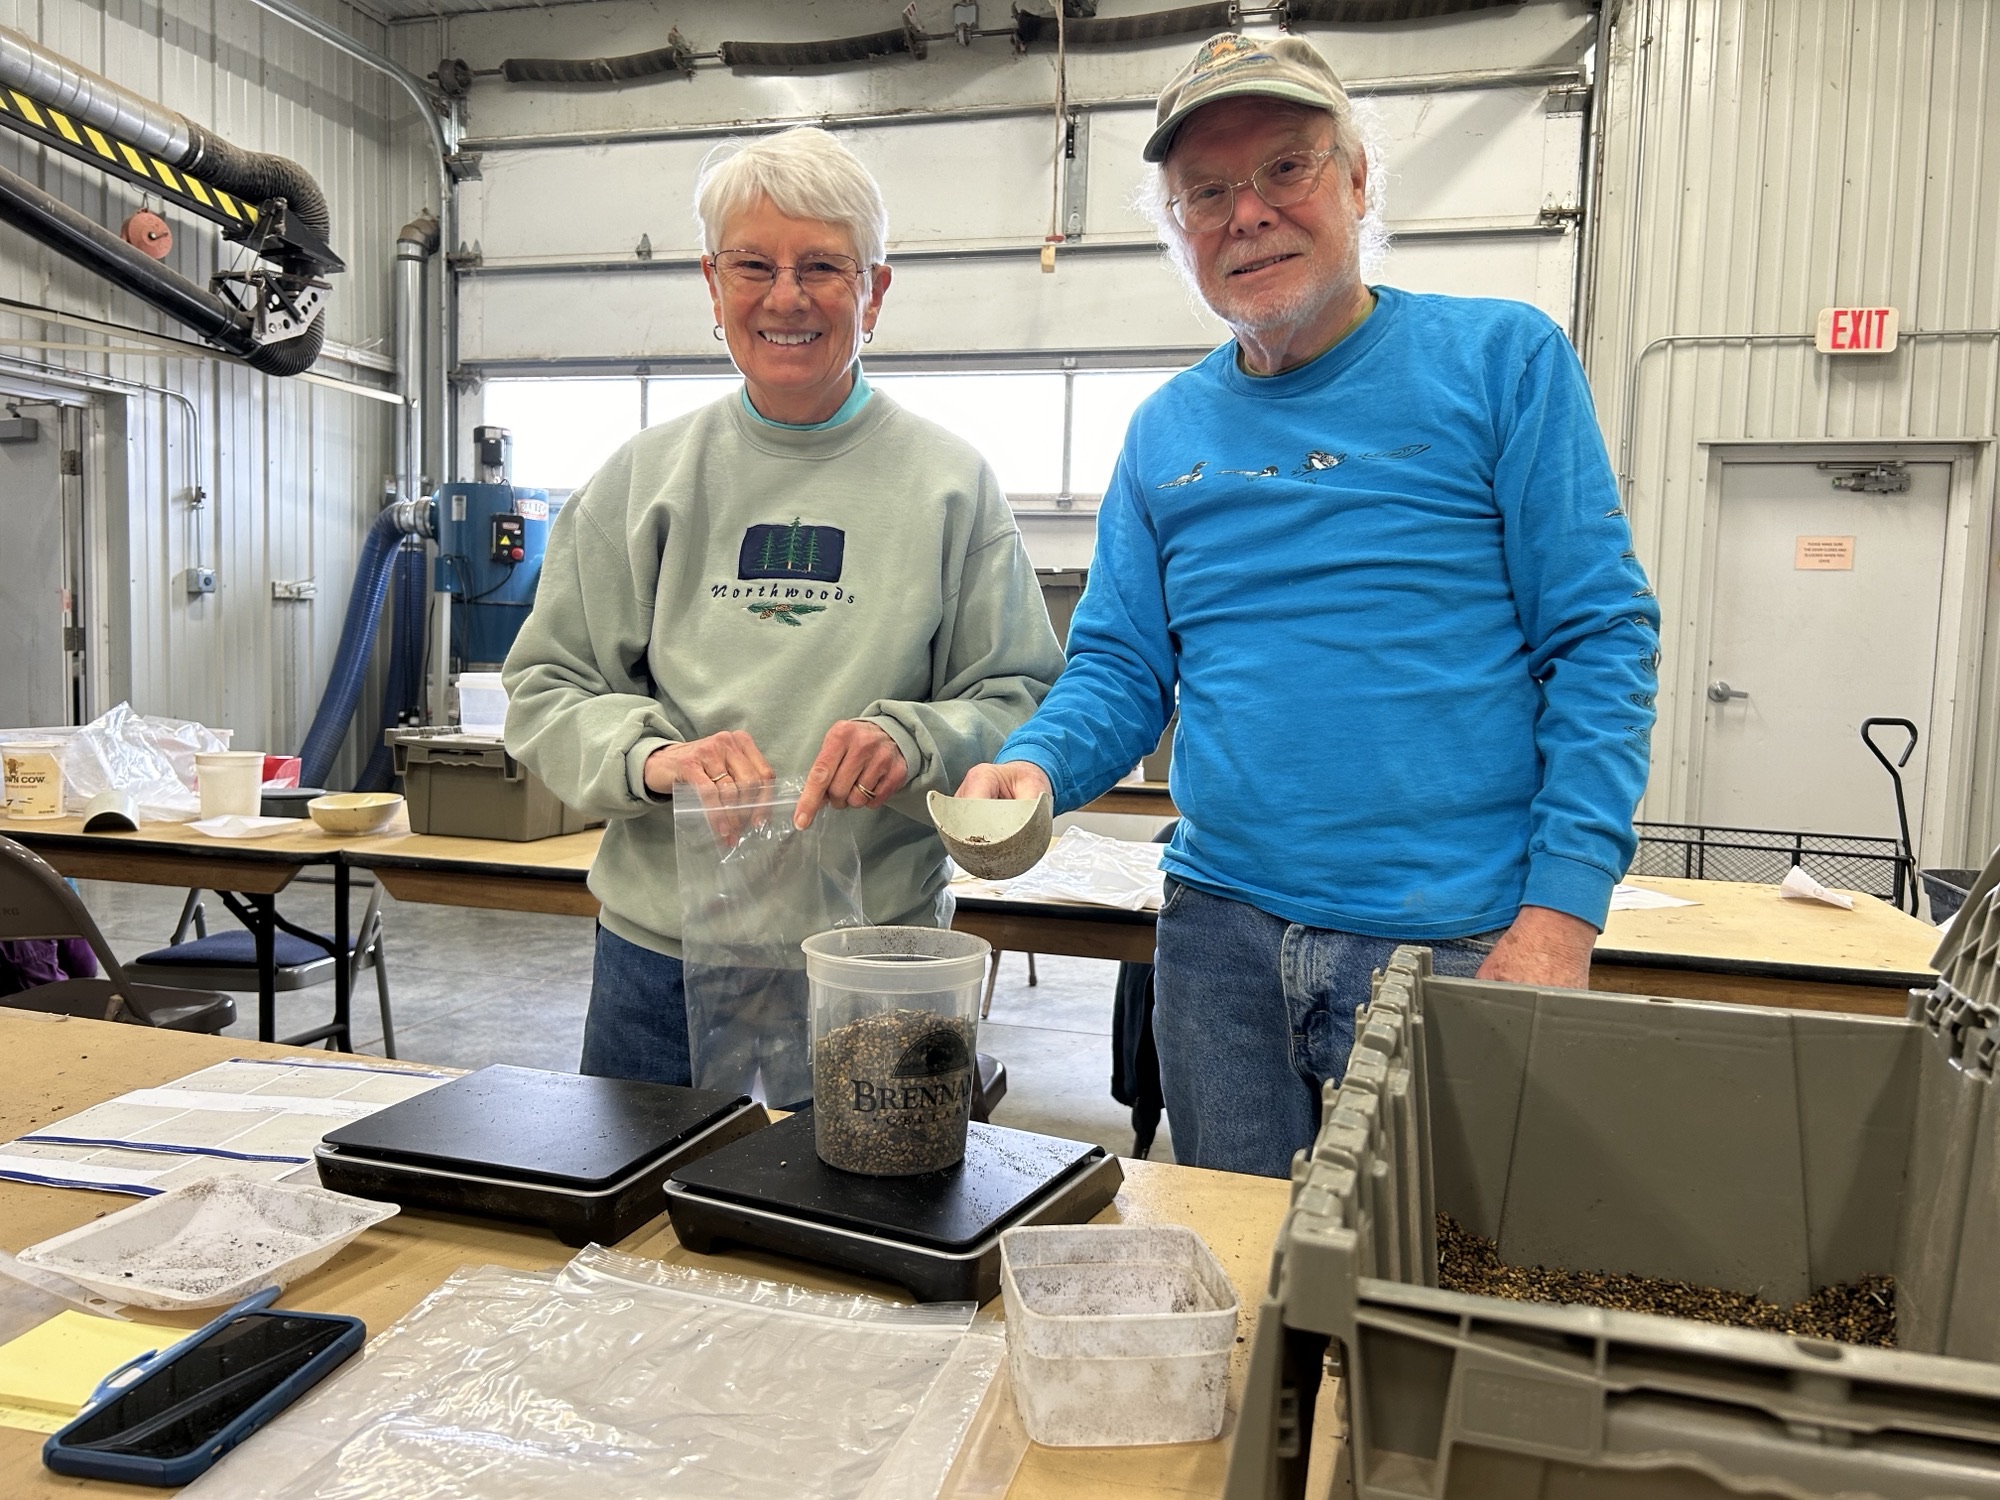
We assumed most of the mowed olive was going to re-sprout. That is what shrubs do. And we would need to use frequent fire, which would require a prairie to burn. So we planted a heavy amount of prairie seed harvested with an old combine from prairie plantings at Nachusa. This is a view into the combine hopper.

We planted about two full grain wagons of combine mix.
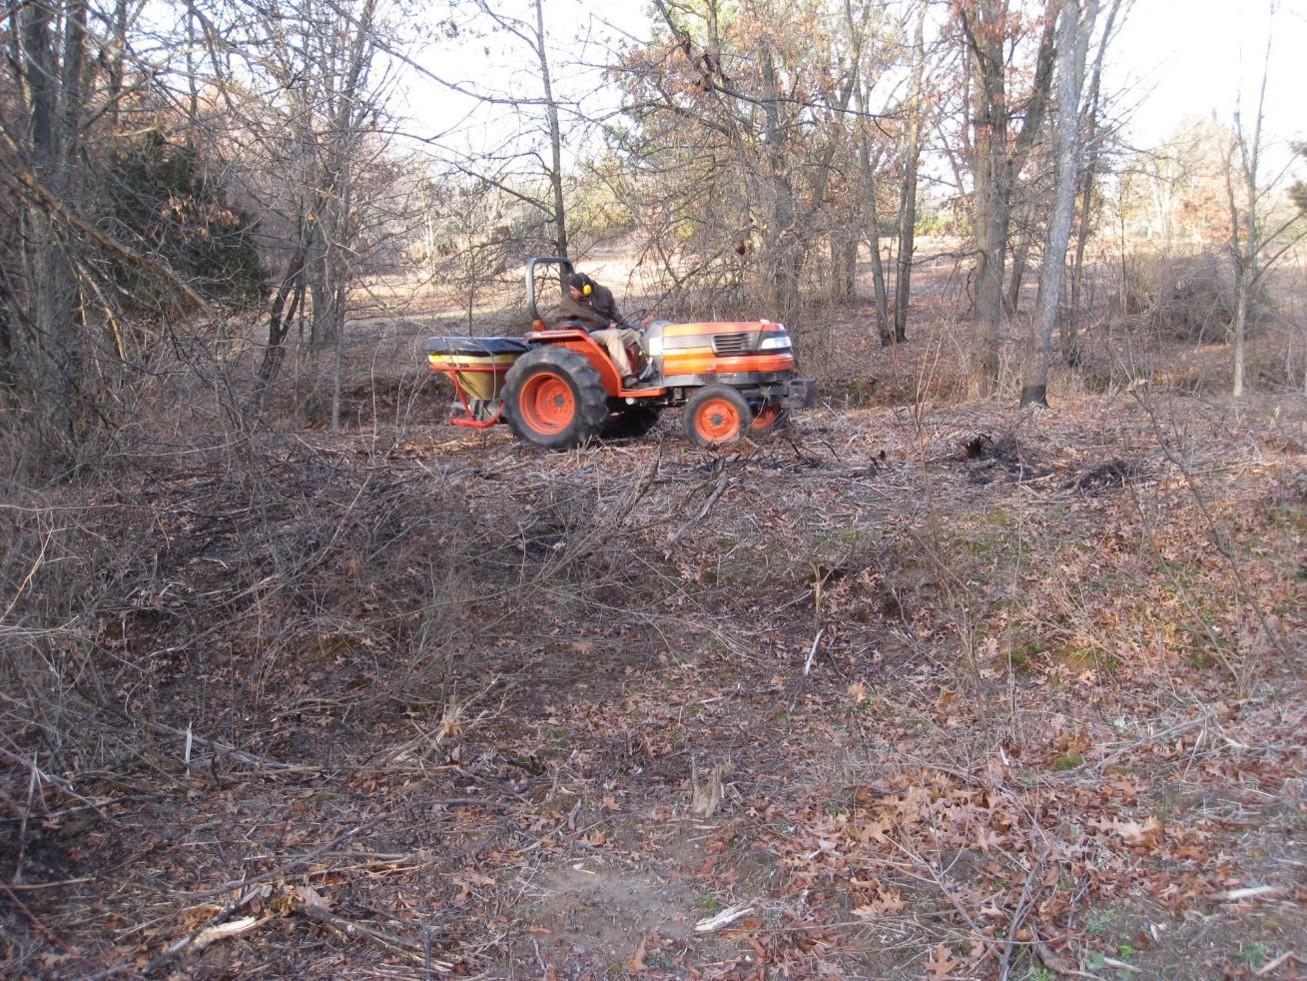
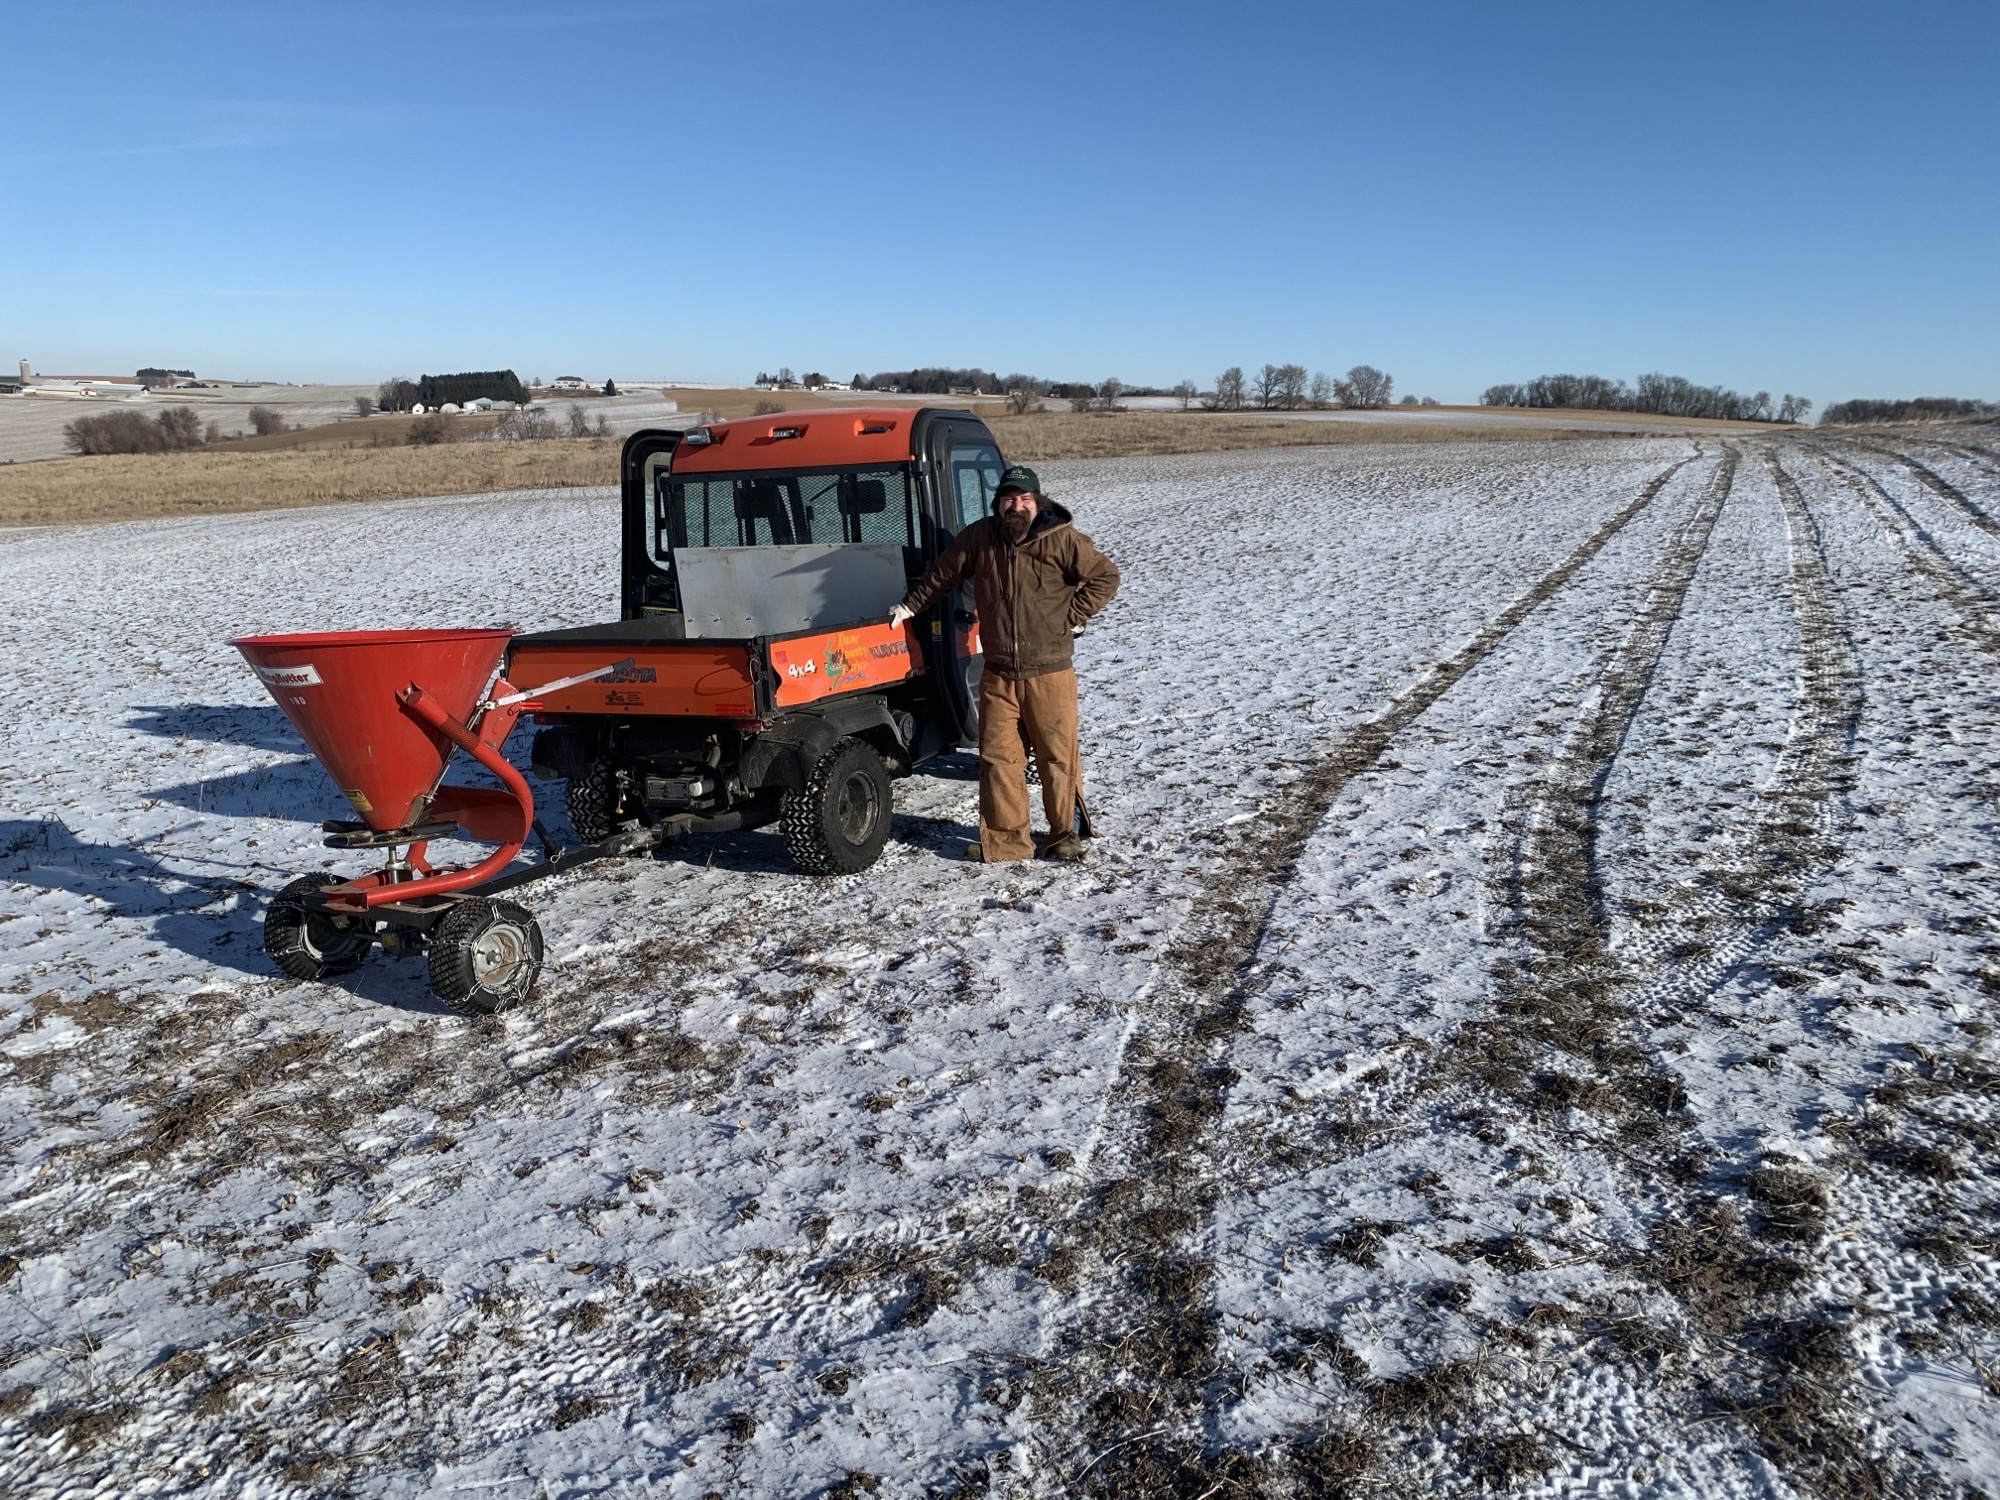
We used this little tractor with a pendulum seed broadcaster on the back. I think that is Mark Kruis on the tractor.
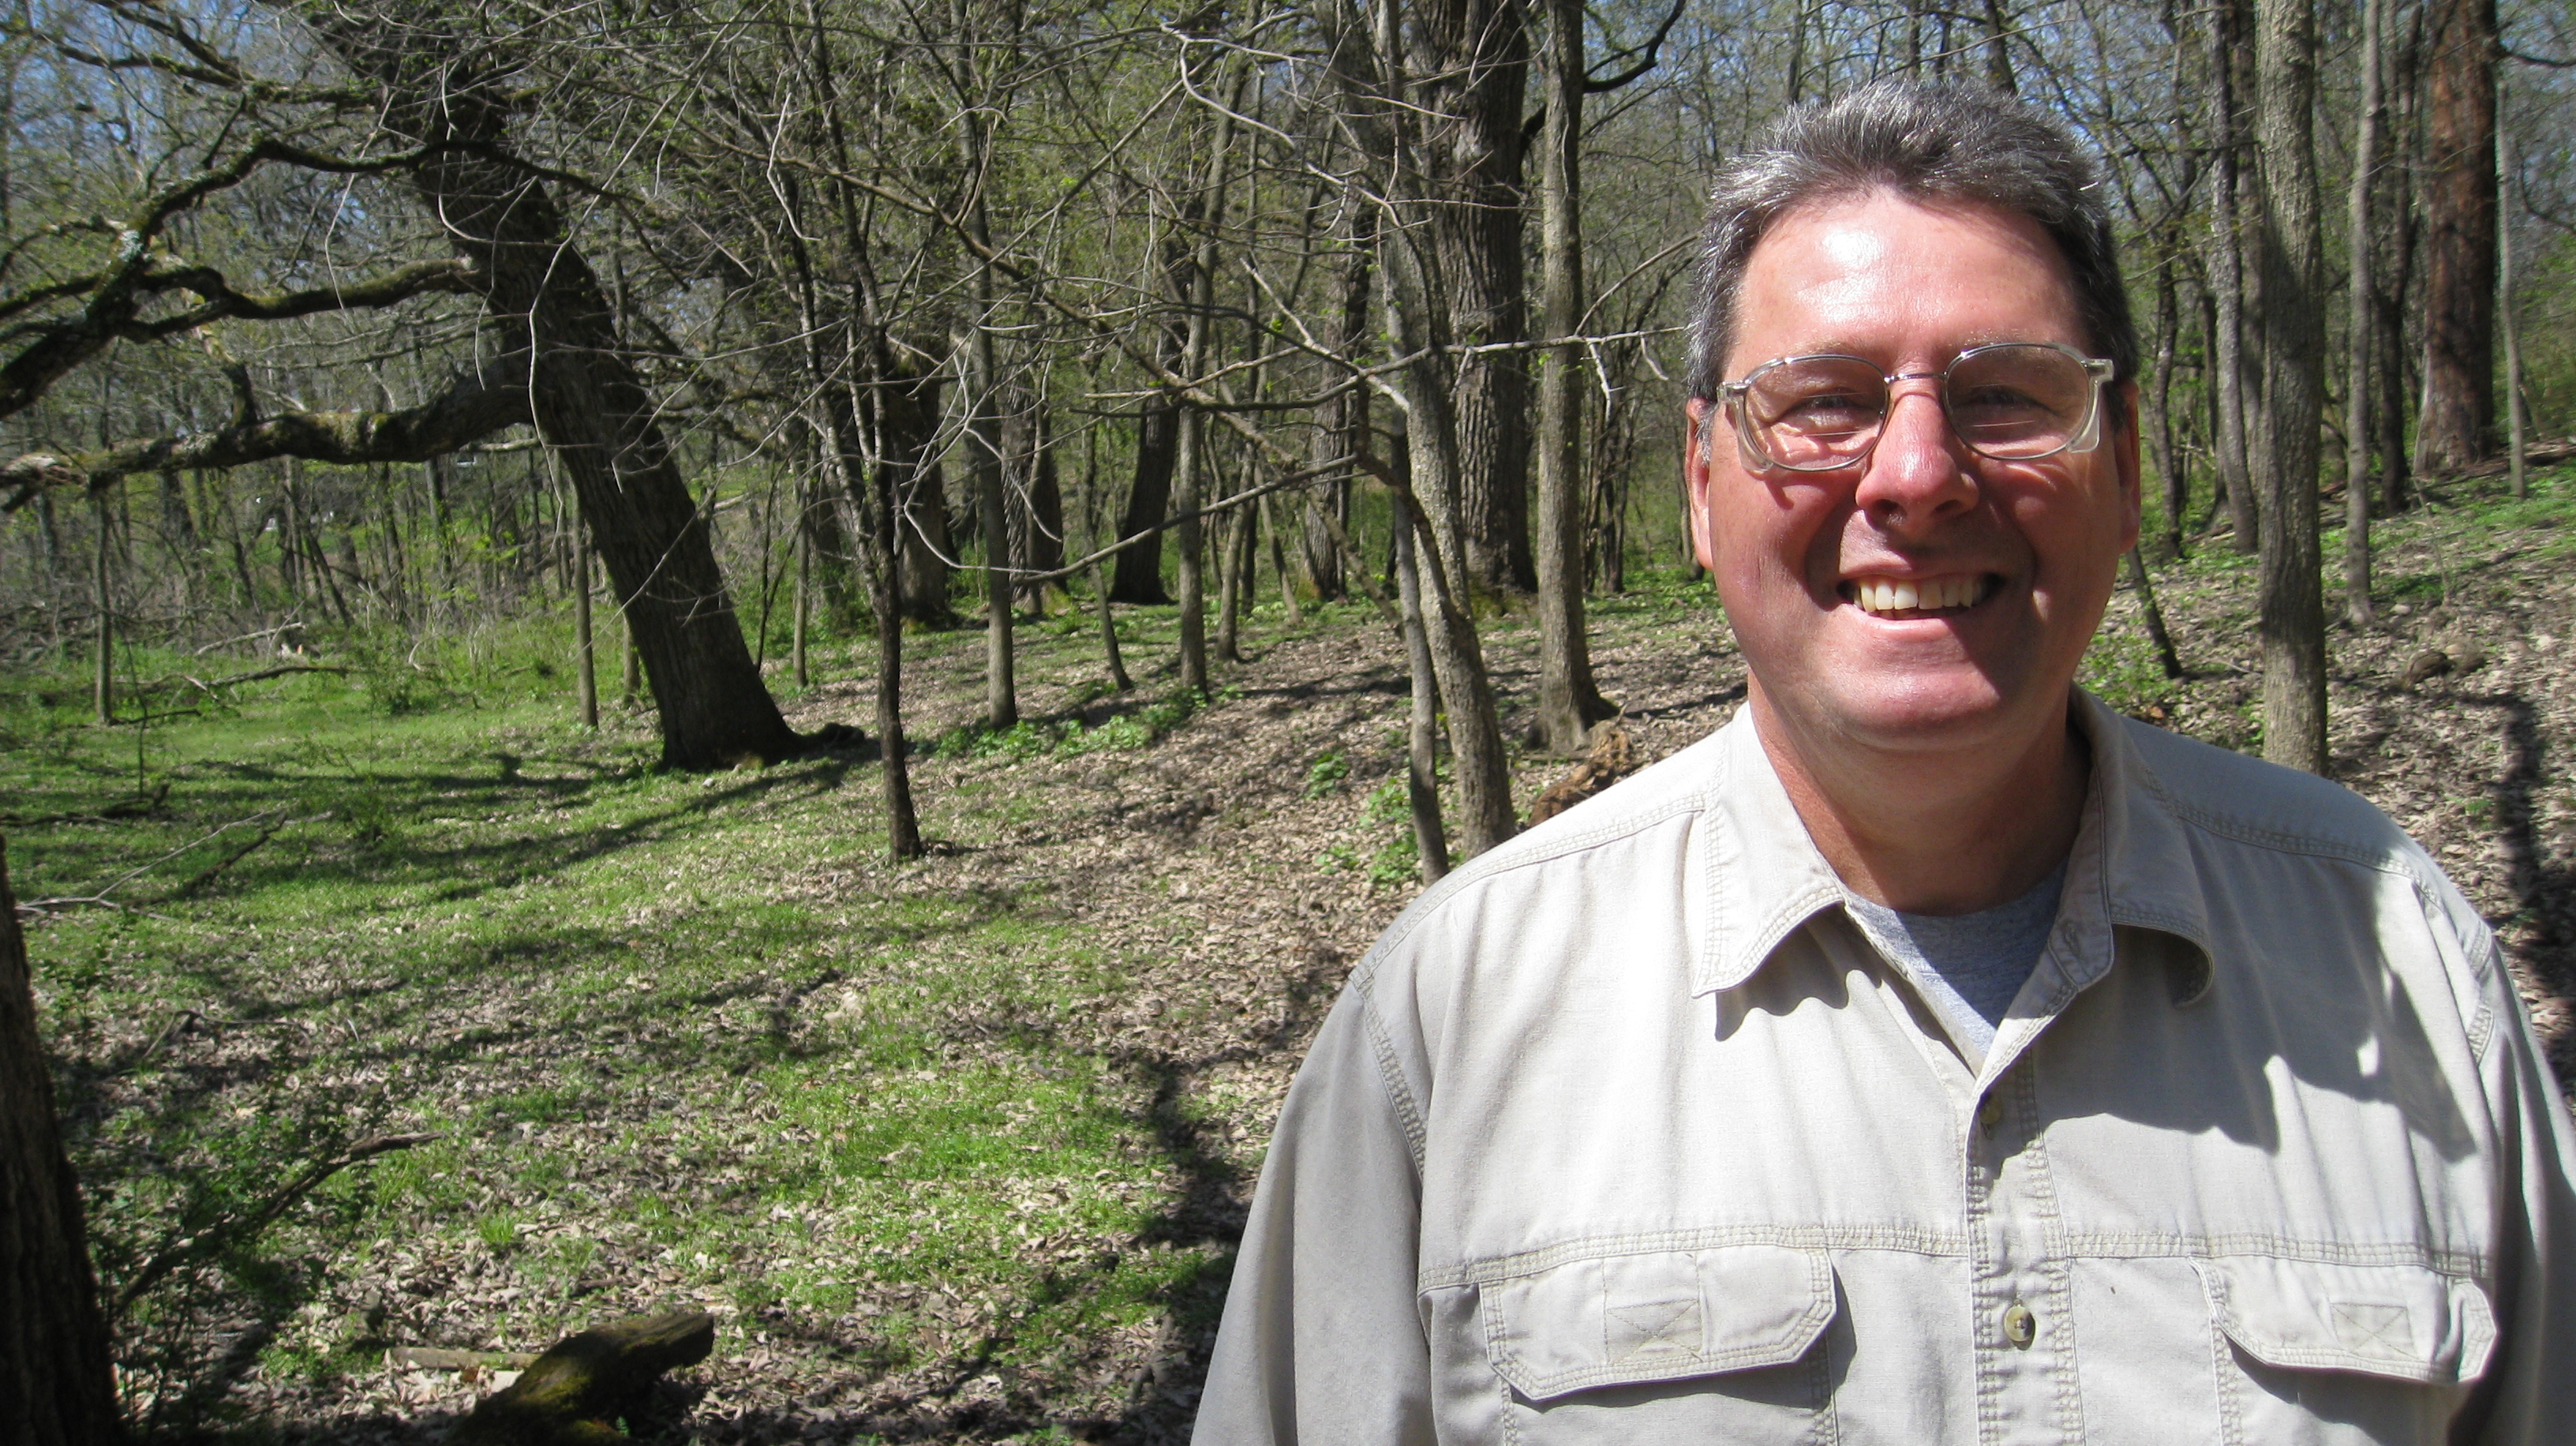
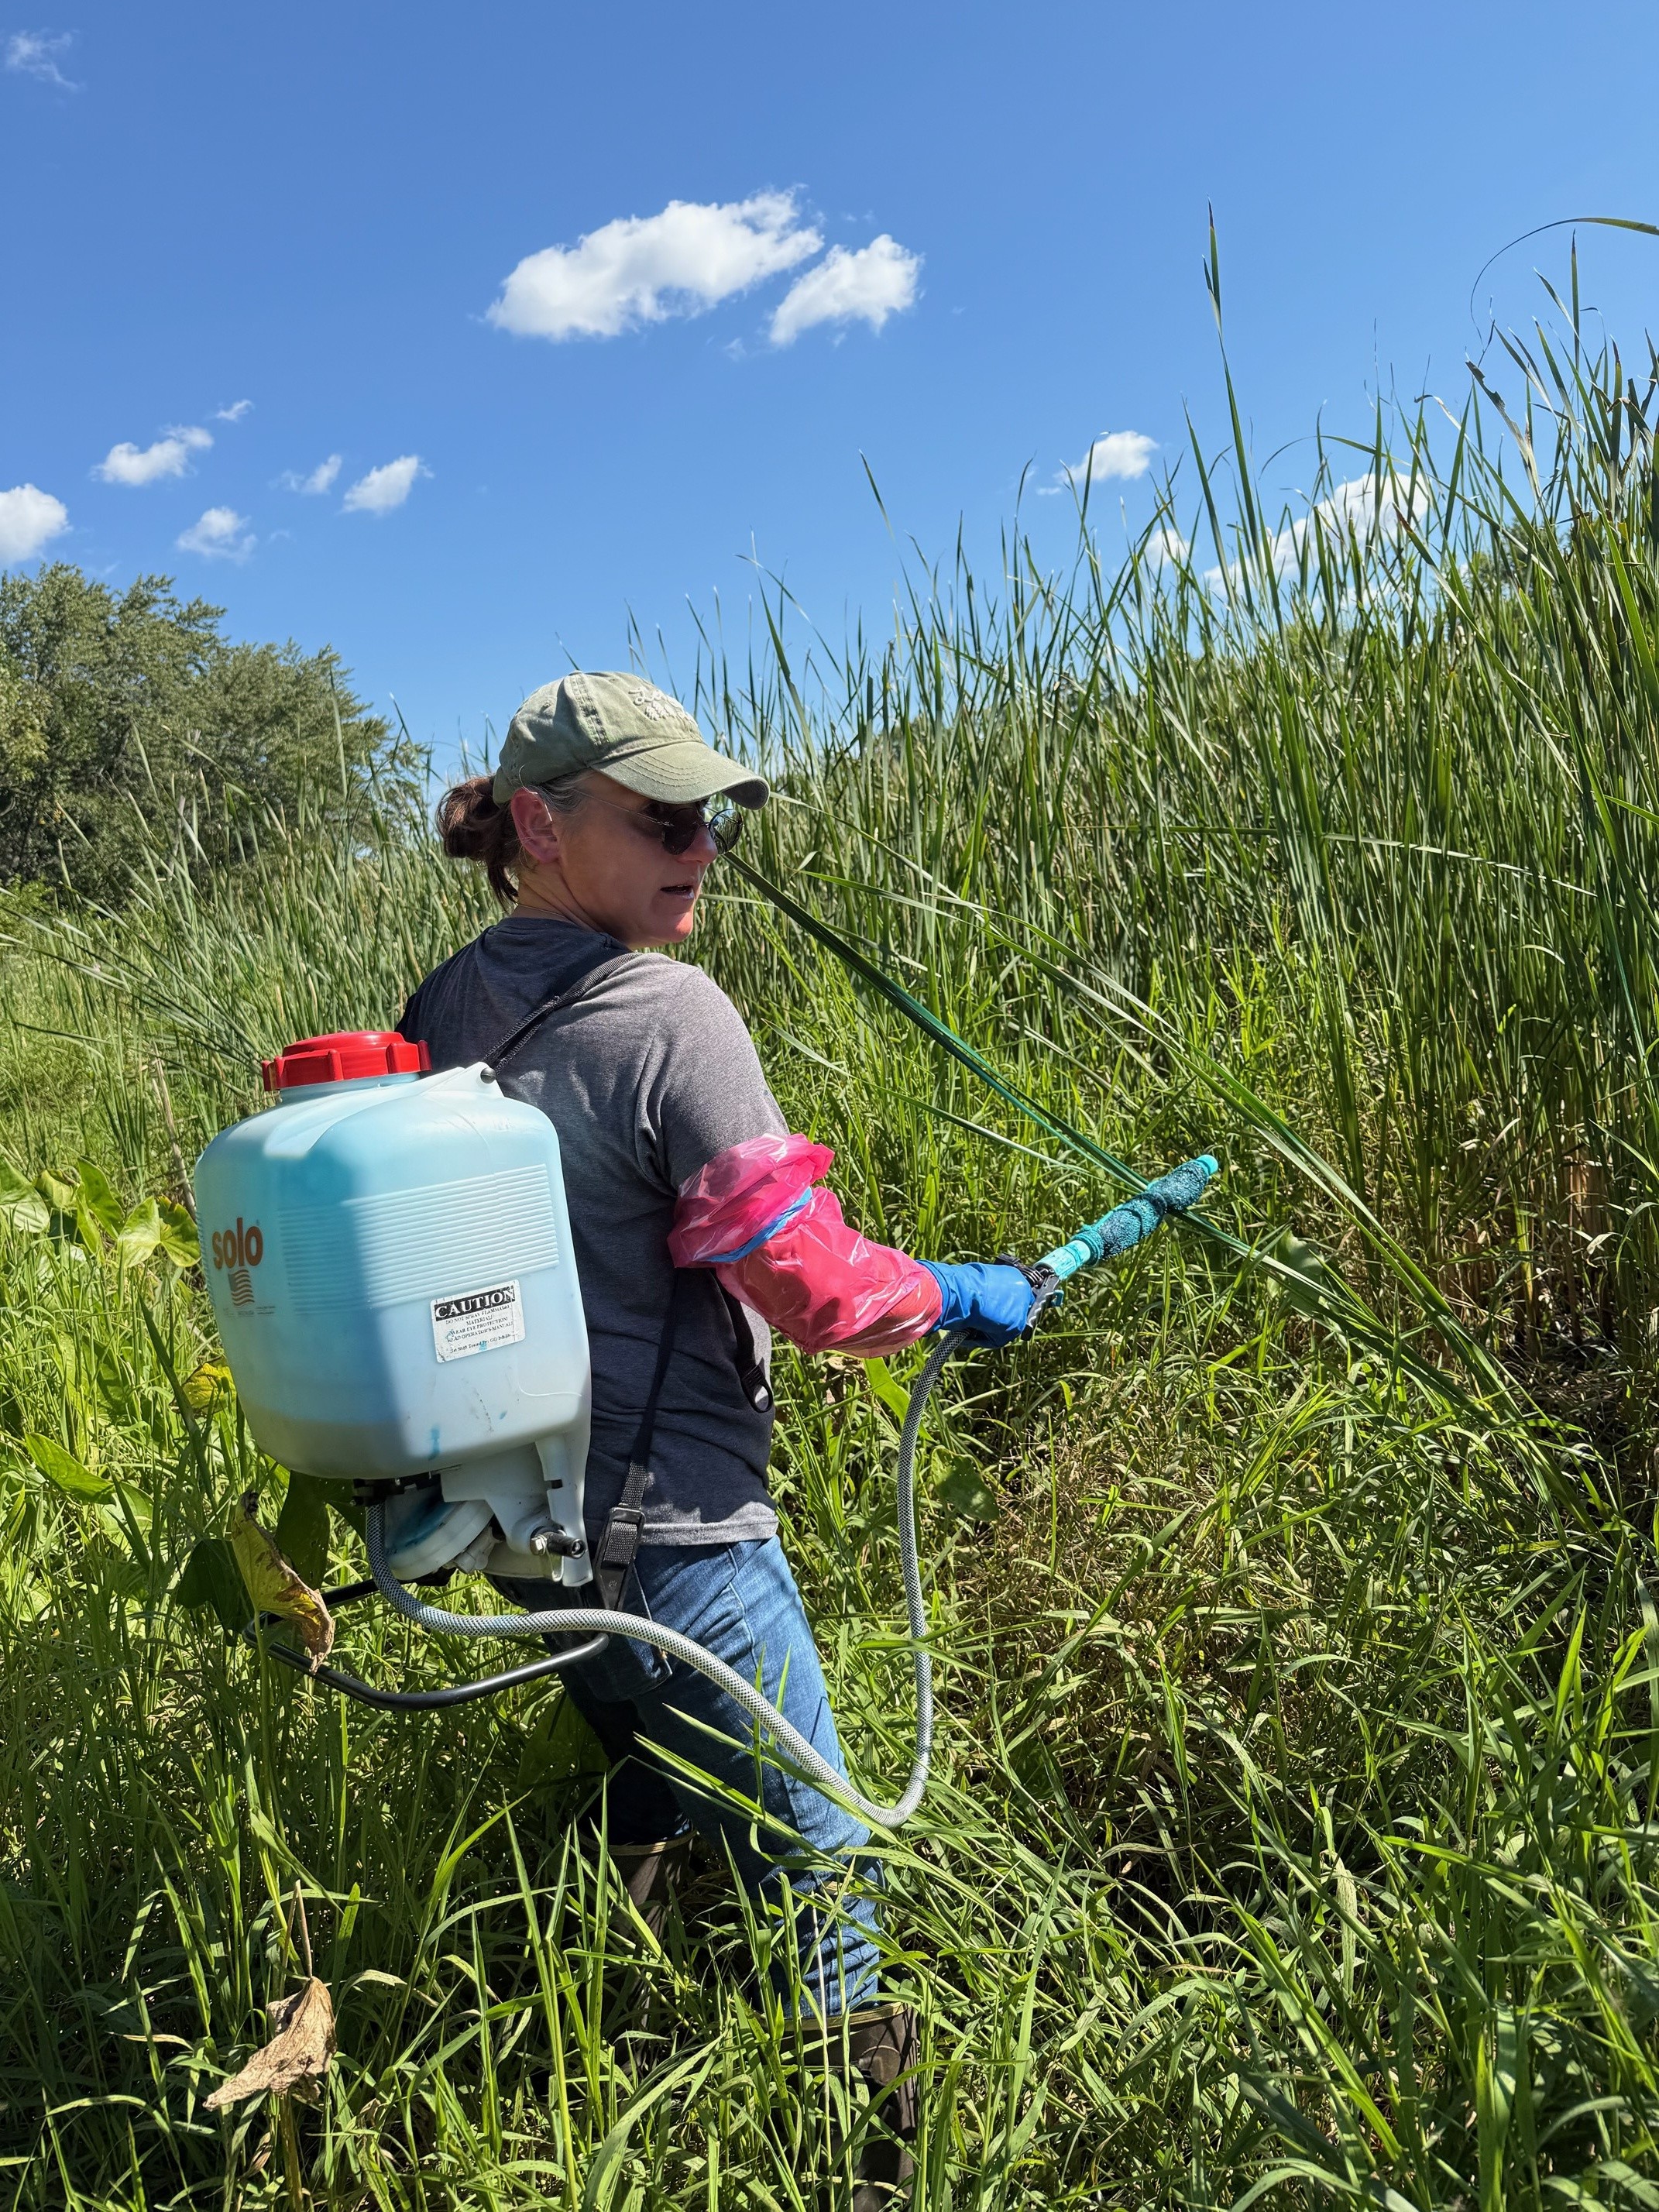
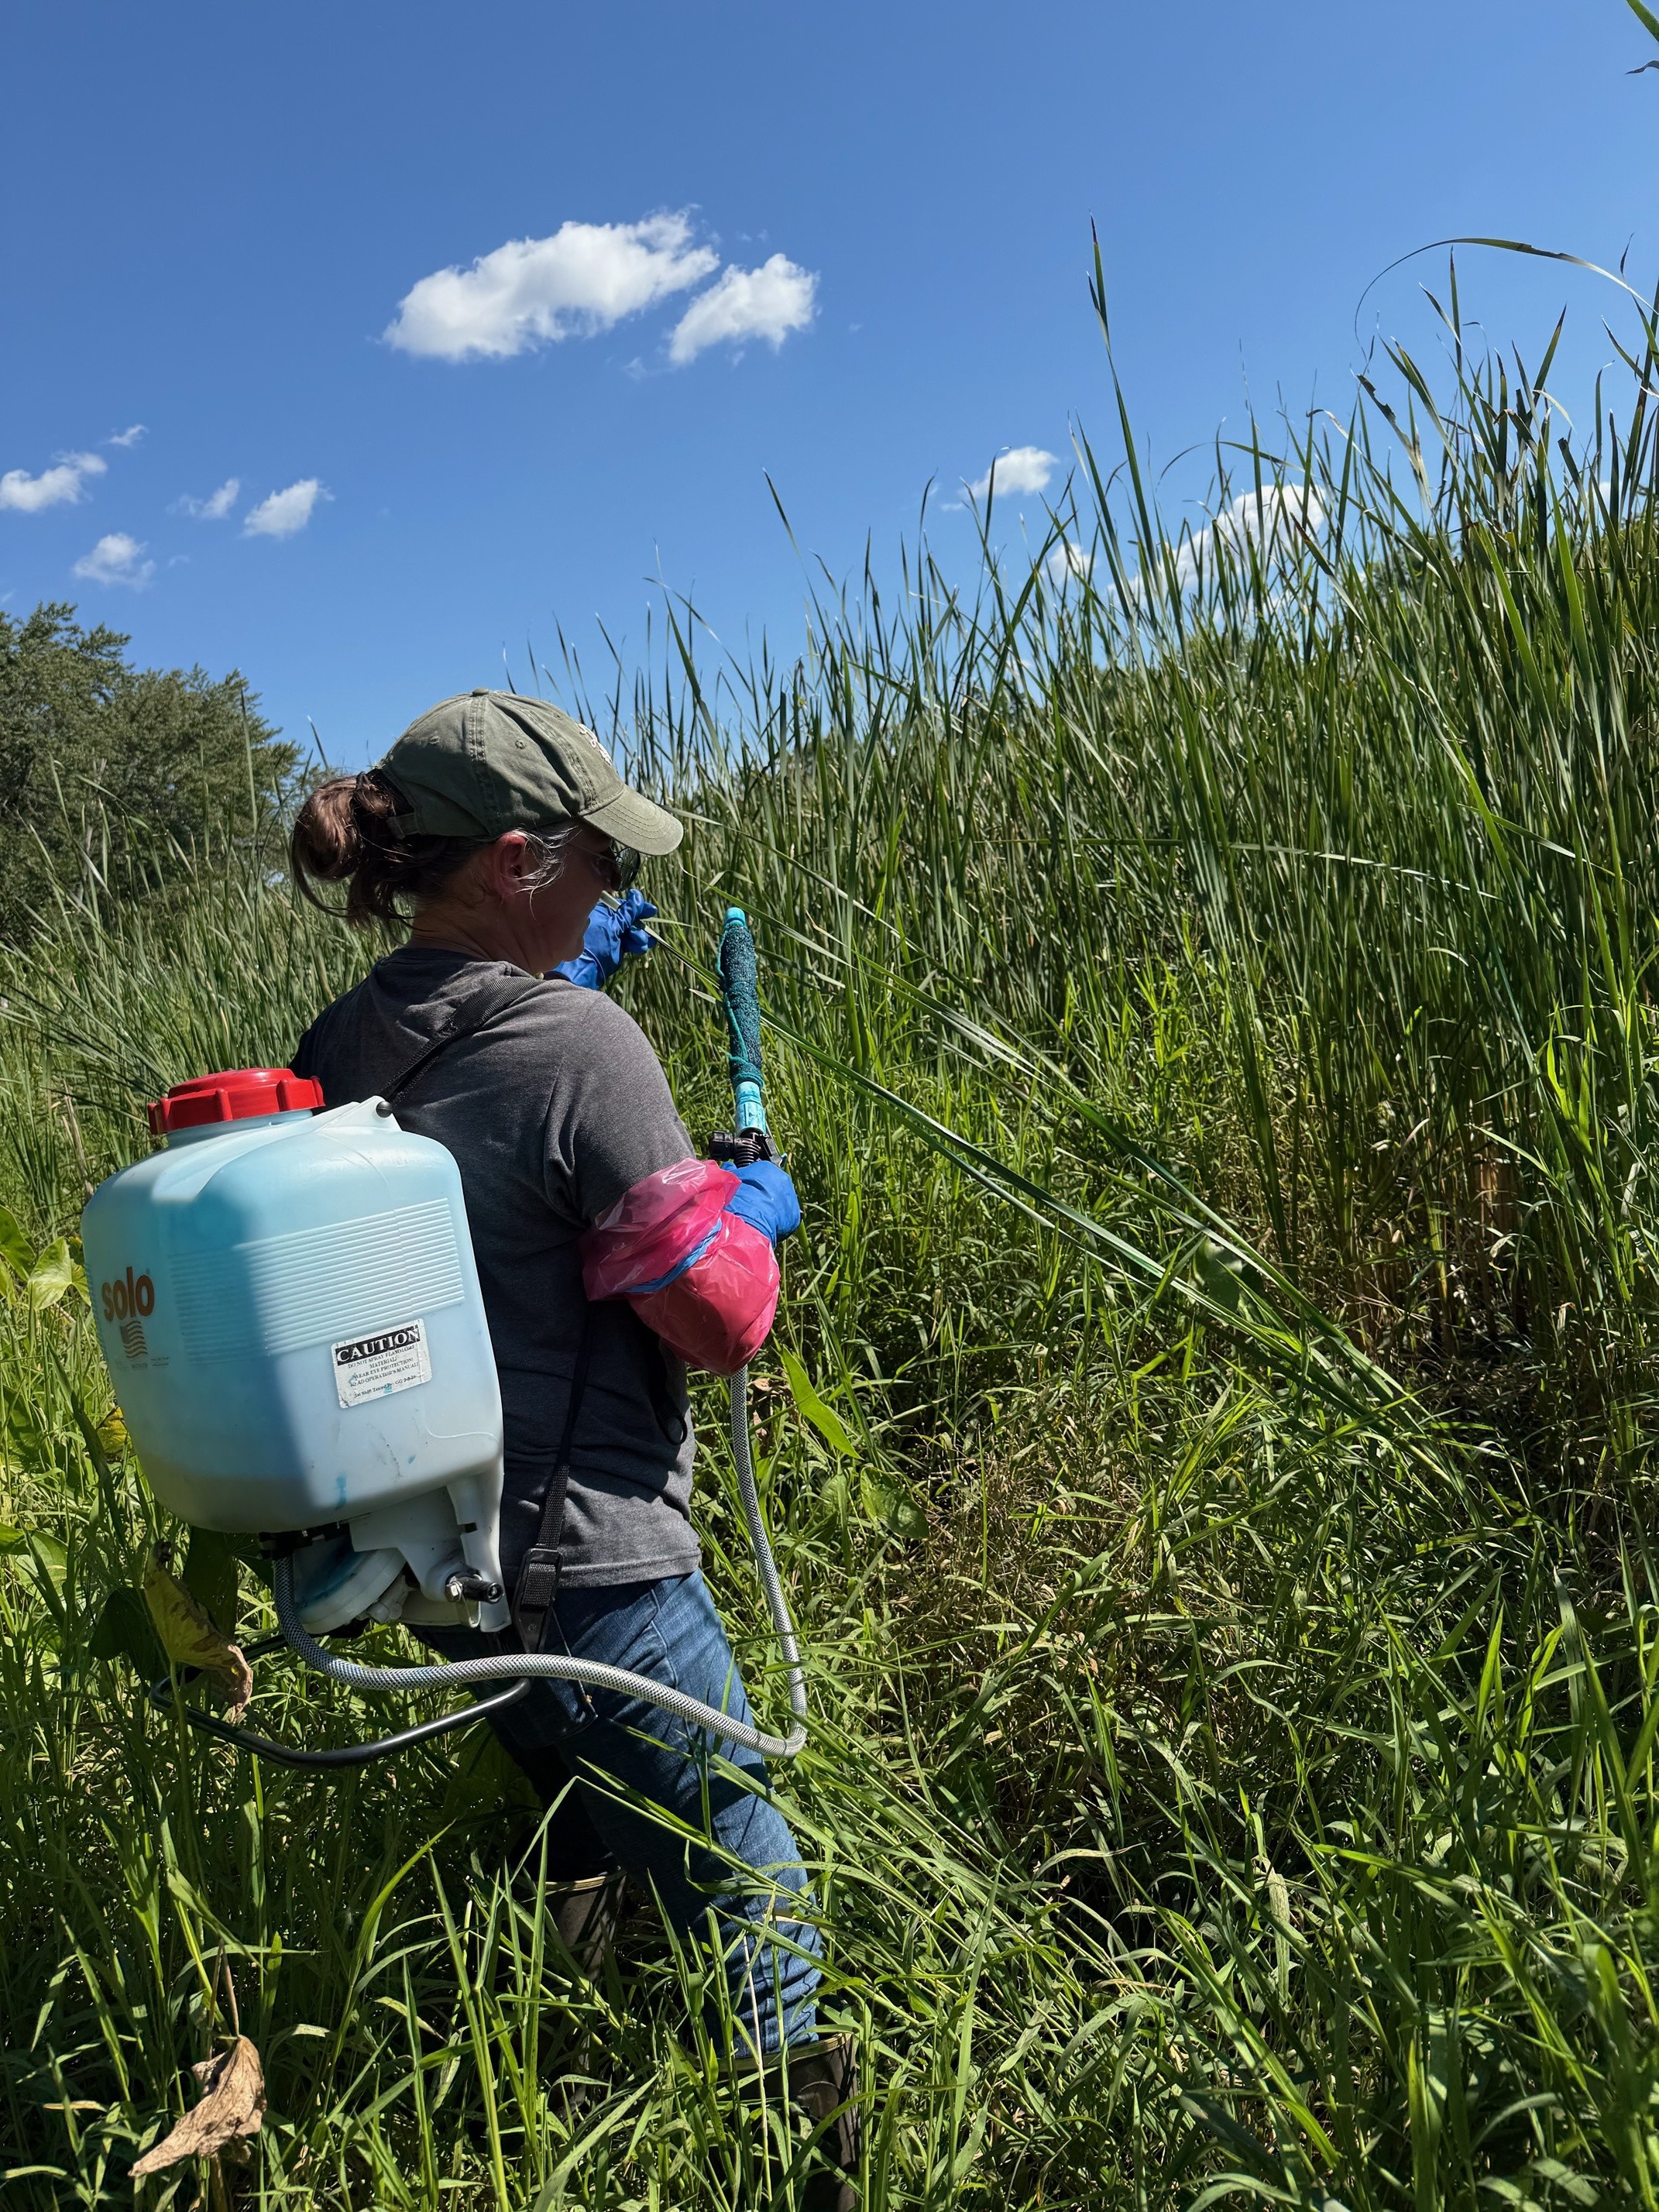
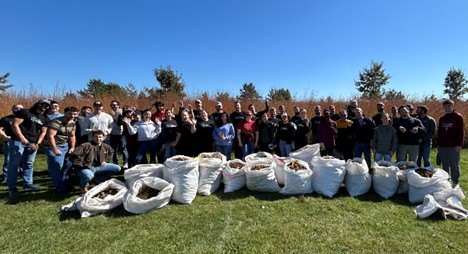
Mike Carr was a neighbor to the tract back then and as I went door to door to introduce myself to the neighbors I met Mike. He was so happy we had purchased the tract, stating he wanted to get involved. Boy did he. Mike became a major presence on this unit, working with other volunteers and seasonal crews. 15 years and counting. They wore backpacks and applied the basal bark herbicide (mineral oil with a broadleaf herbicide) to the bottom bark of each and every olive they could find. Basal bark herbicide is very effective on olive. You should get complete control of every plant treated. But how to find the time to get to each one? They repeated this work over 15 years with a pleasant can-do attitude.
Currently, there is still a bit of olive out there and we will keep going after it.
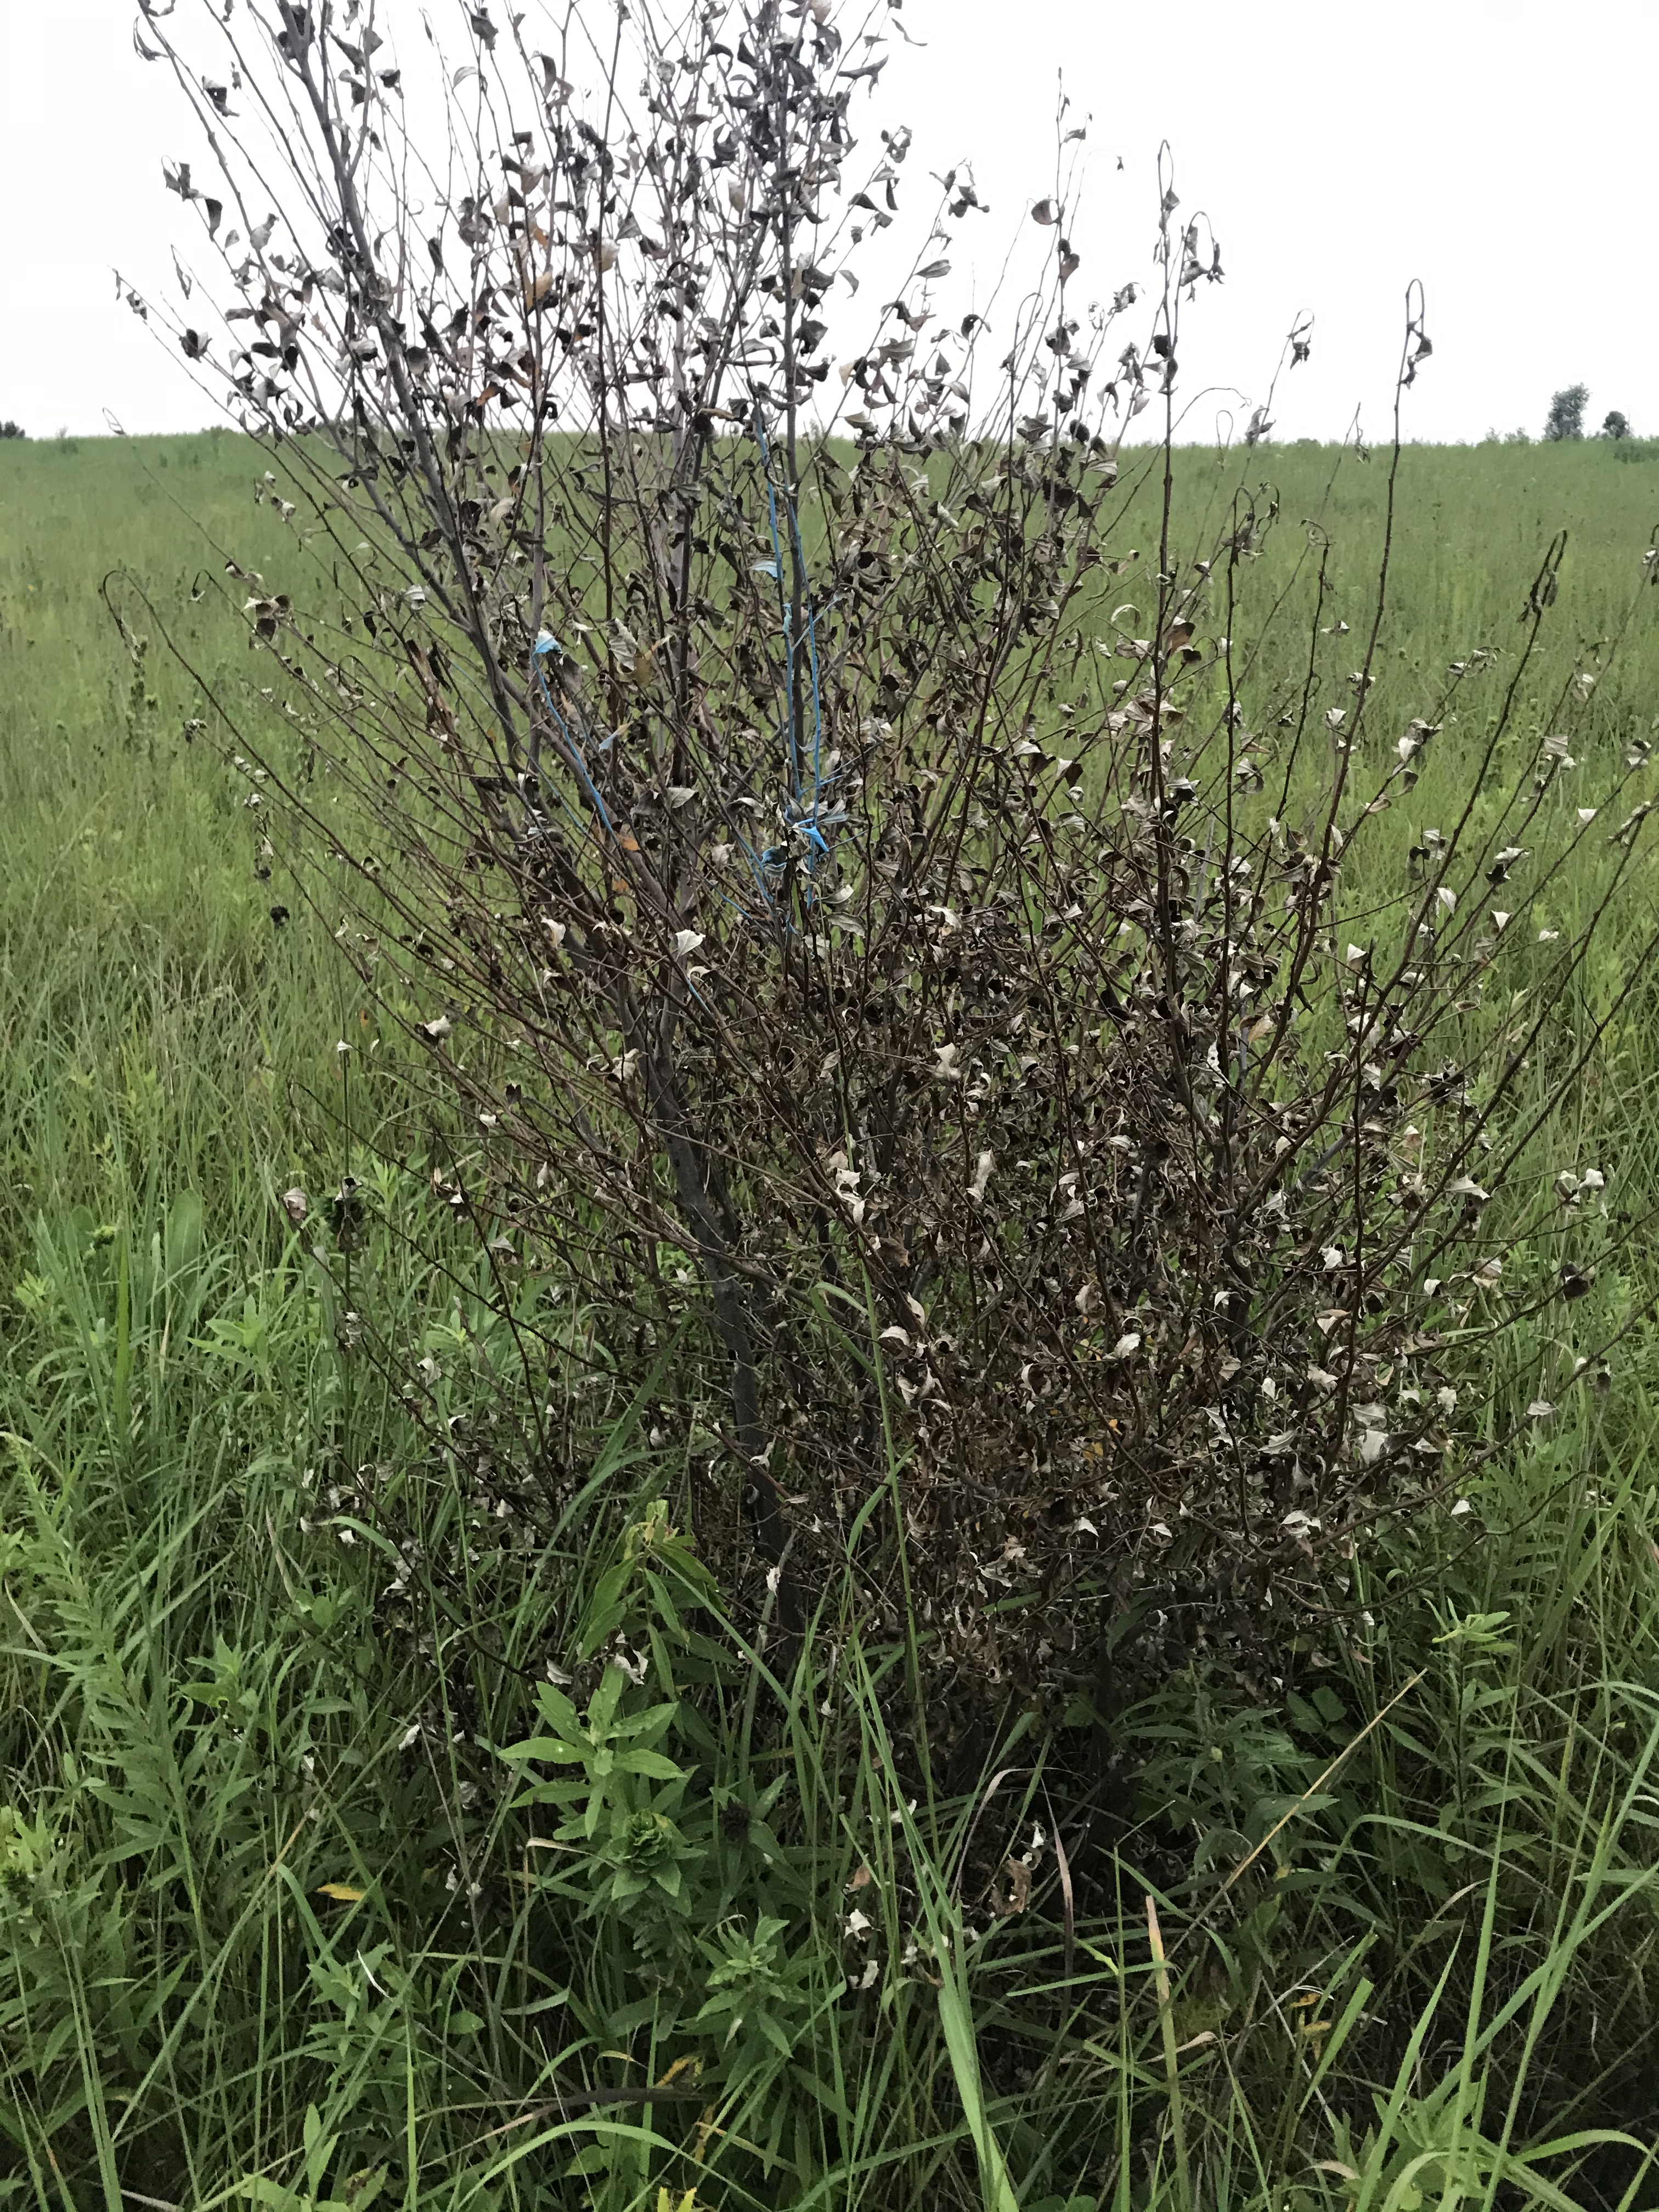
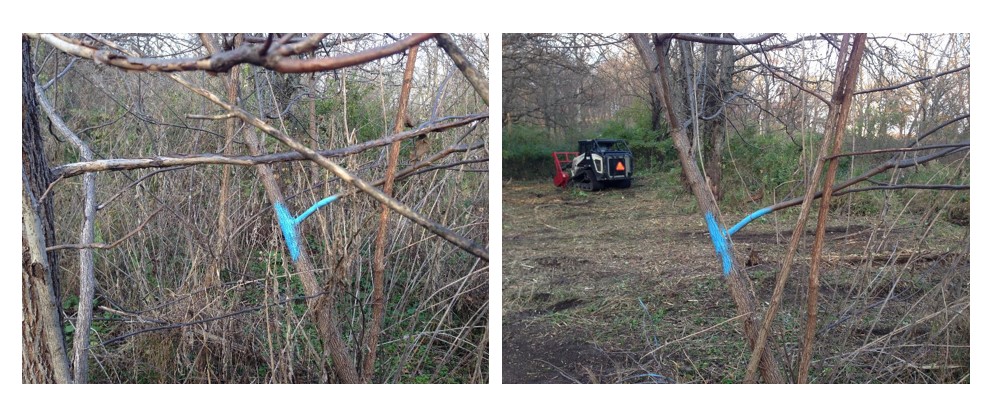
An olive shrub basal bark treated mid-July and crispy four weeks later. The blue paint is how I mark a hand full of plants so I can know an individual was treated.
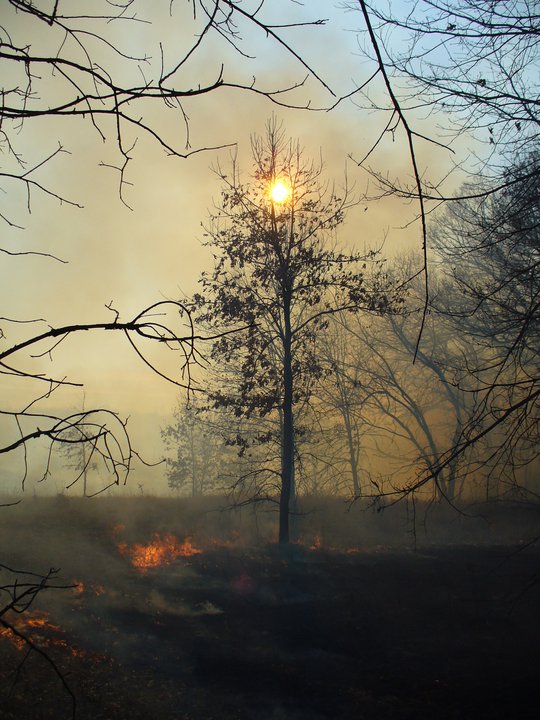
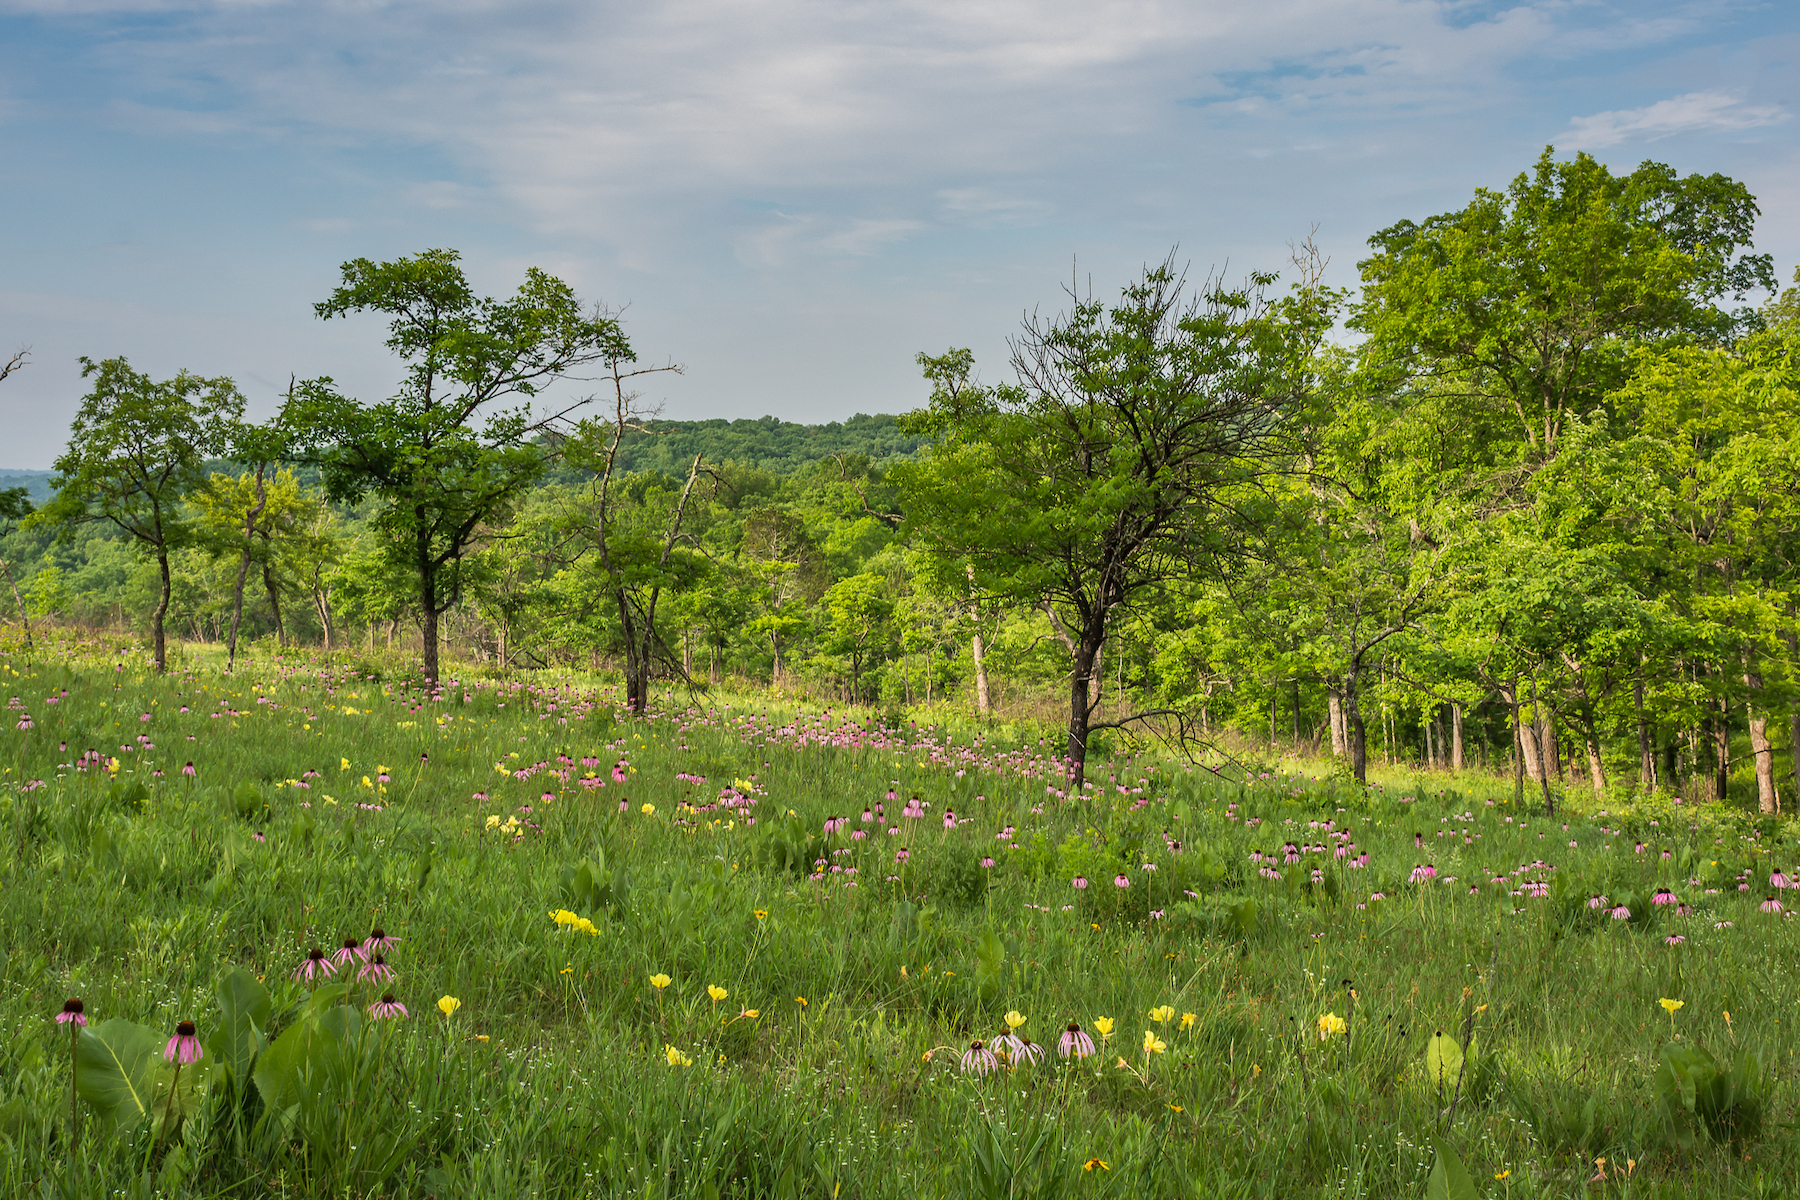
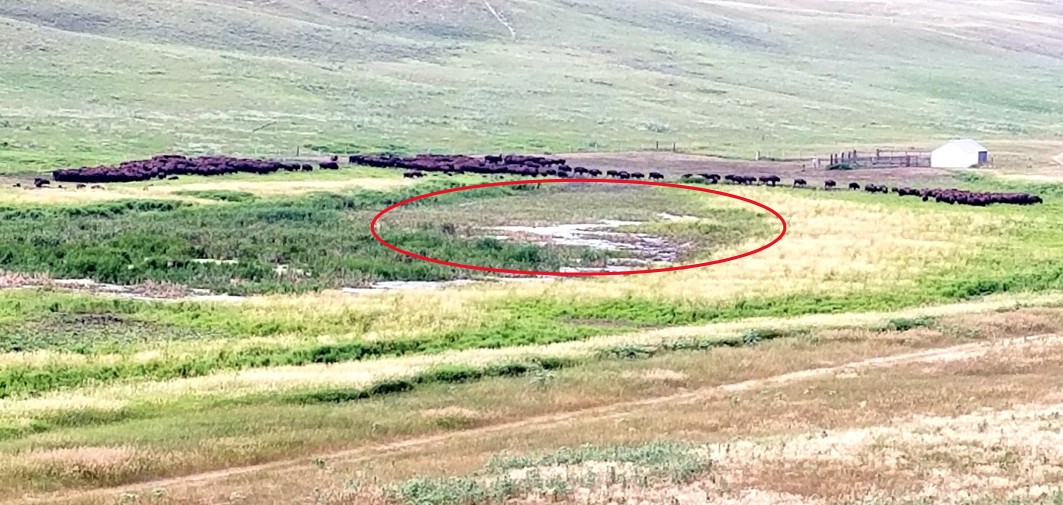
We use frequent fire at this unit to keep the shrubs in check. This image is from there.

August 22, 2012: Just two years after we started our work in this olive patch.
To find other posts about invasive shrubs on this blogsite just use the search bar on the site. And follow our blog by putting in an email address there.